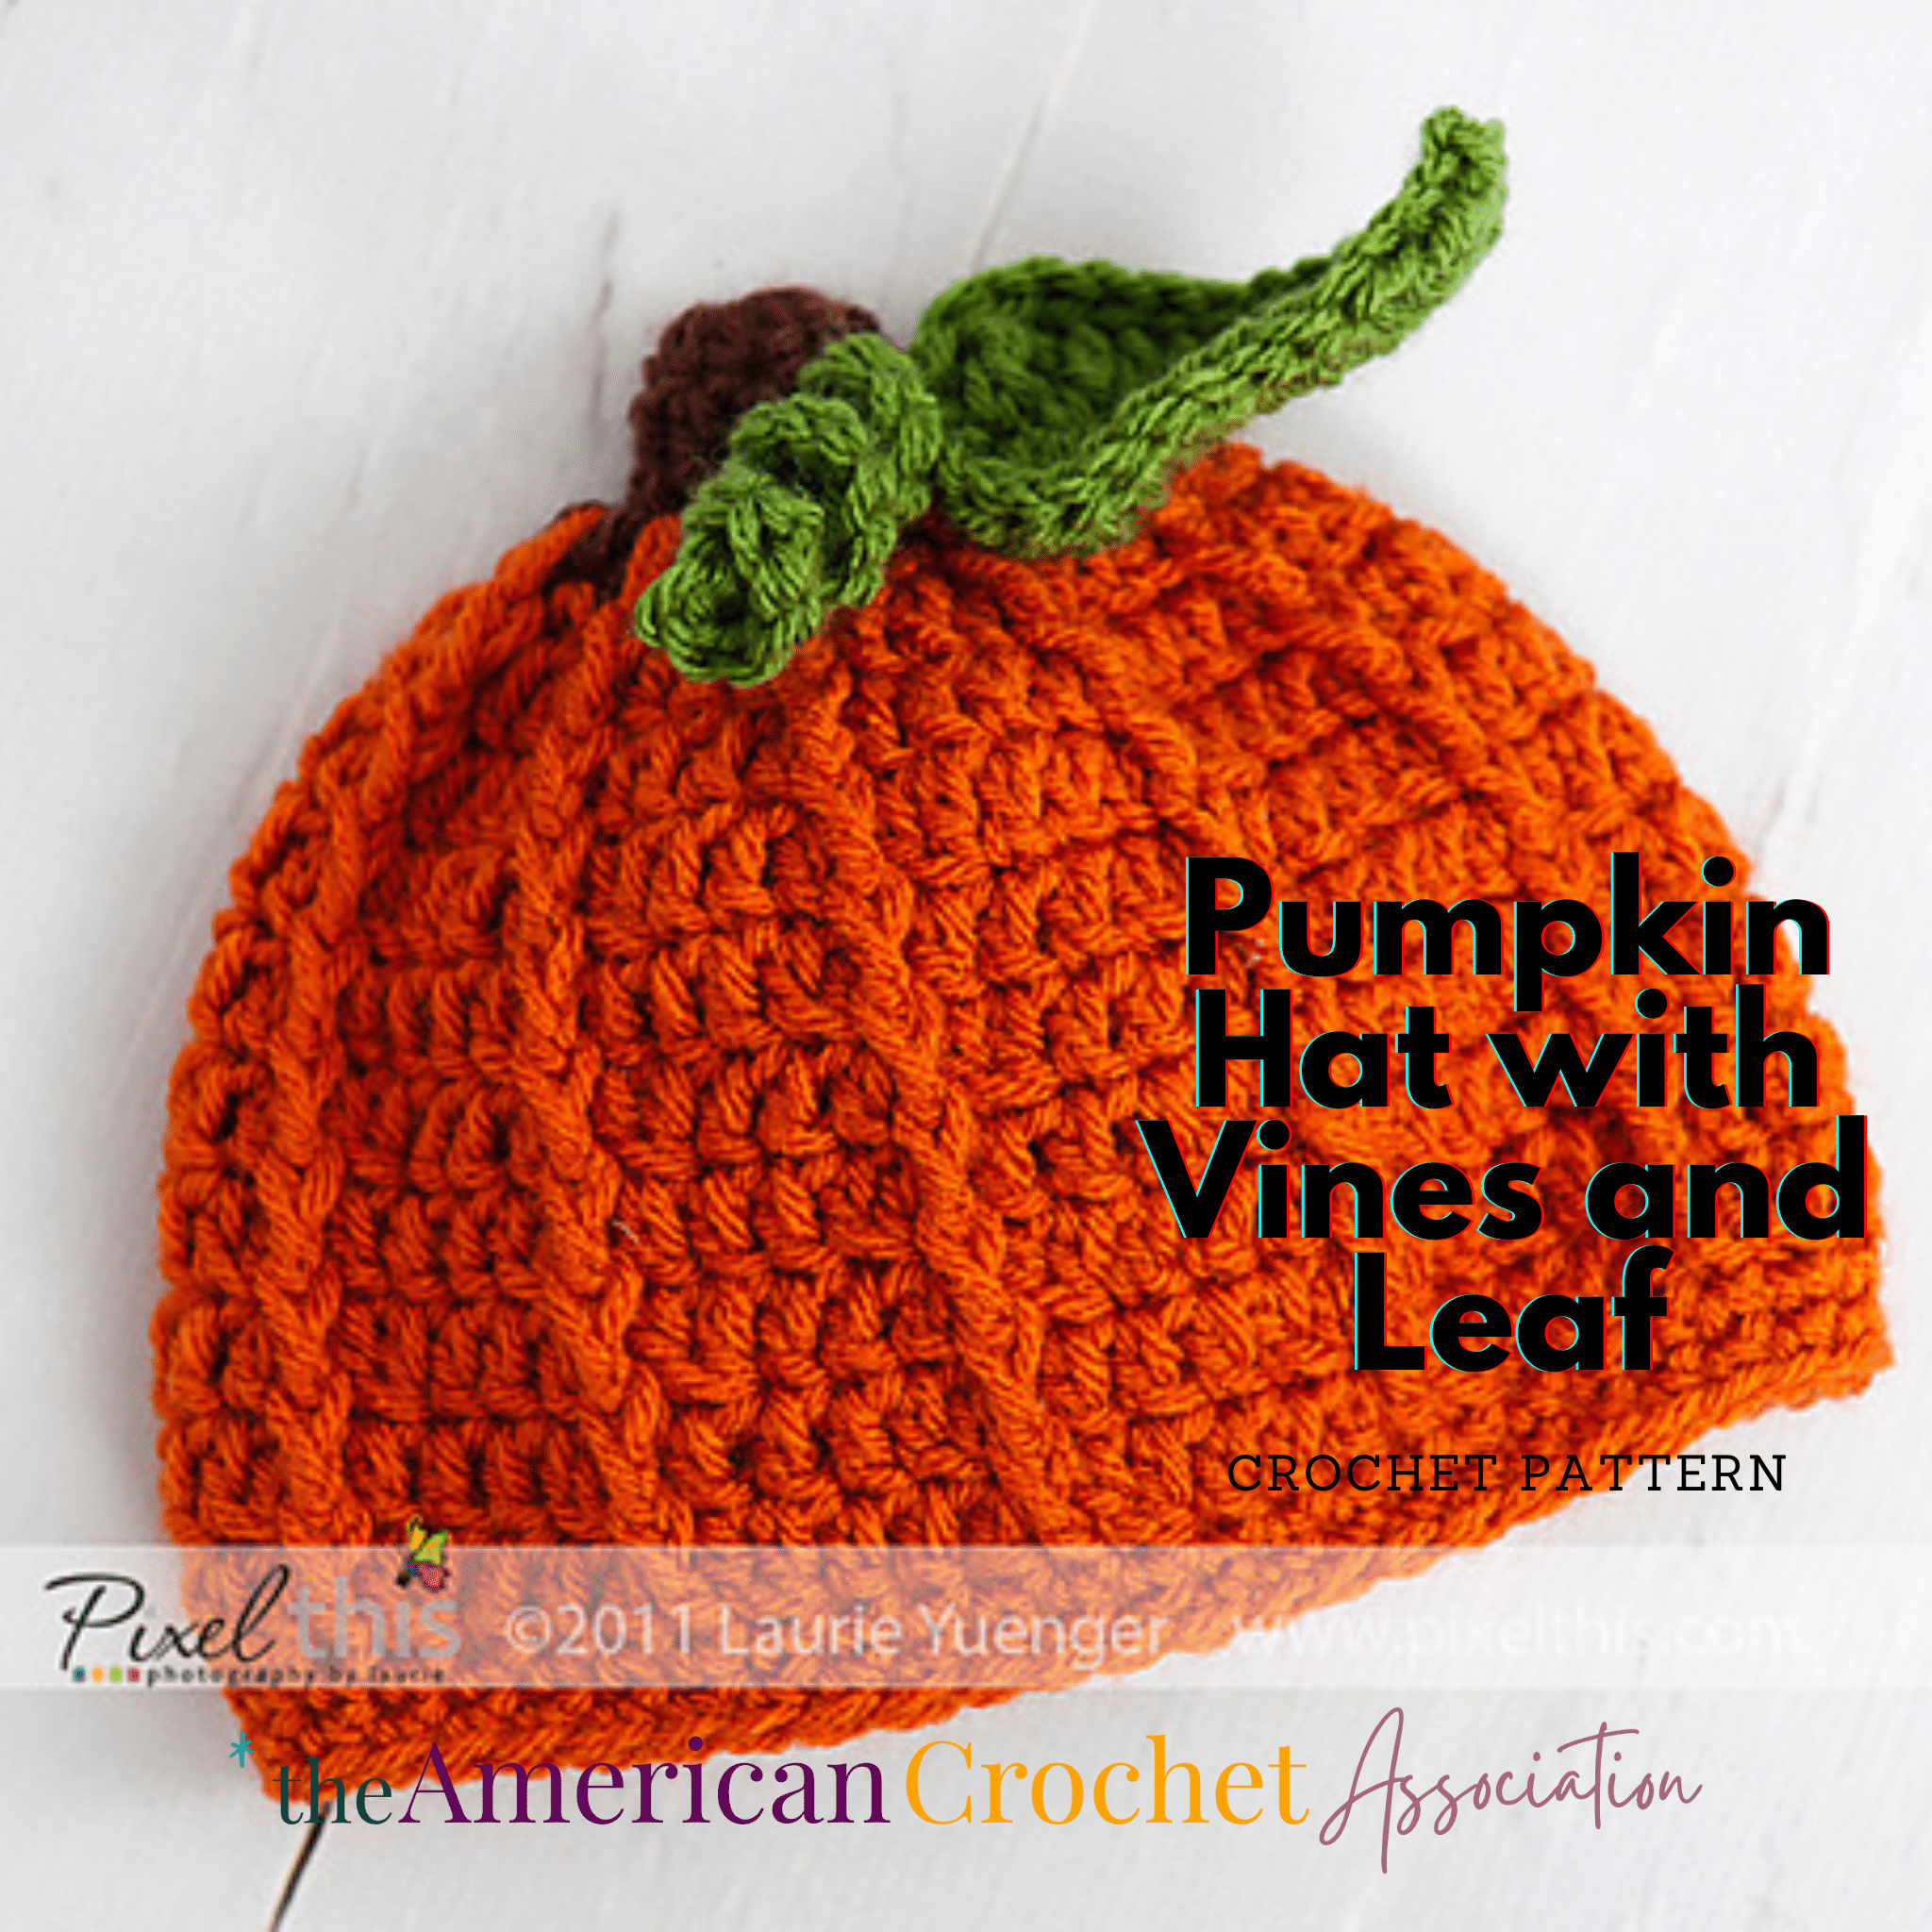
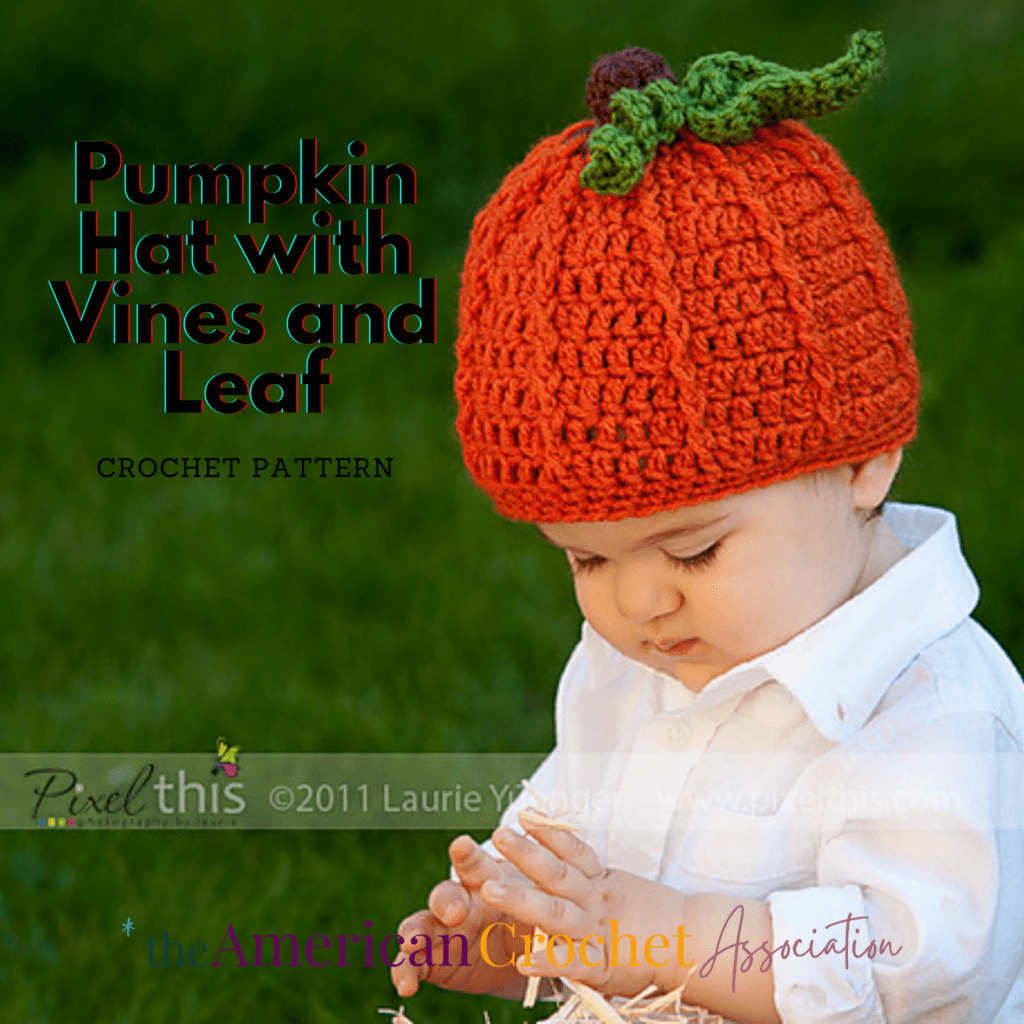
This Pumpkin Hat Crochet Pattern is made with curly vines and leaves, making this the perfect accessory for fall!
Introducing our fall inspired Crochet Pumpkin Hat – a delightful blend of crochet and creativity, specially designed to celebrate the spirit of autumn.
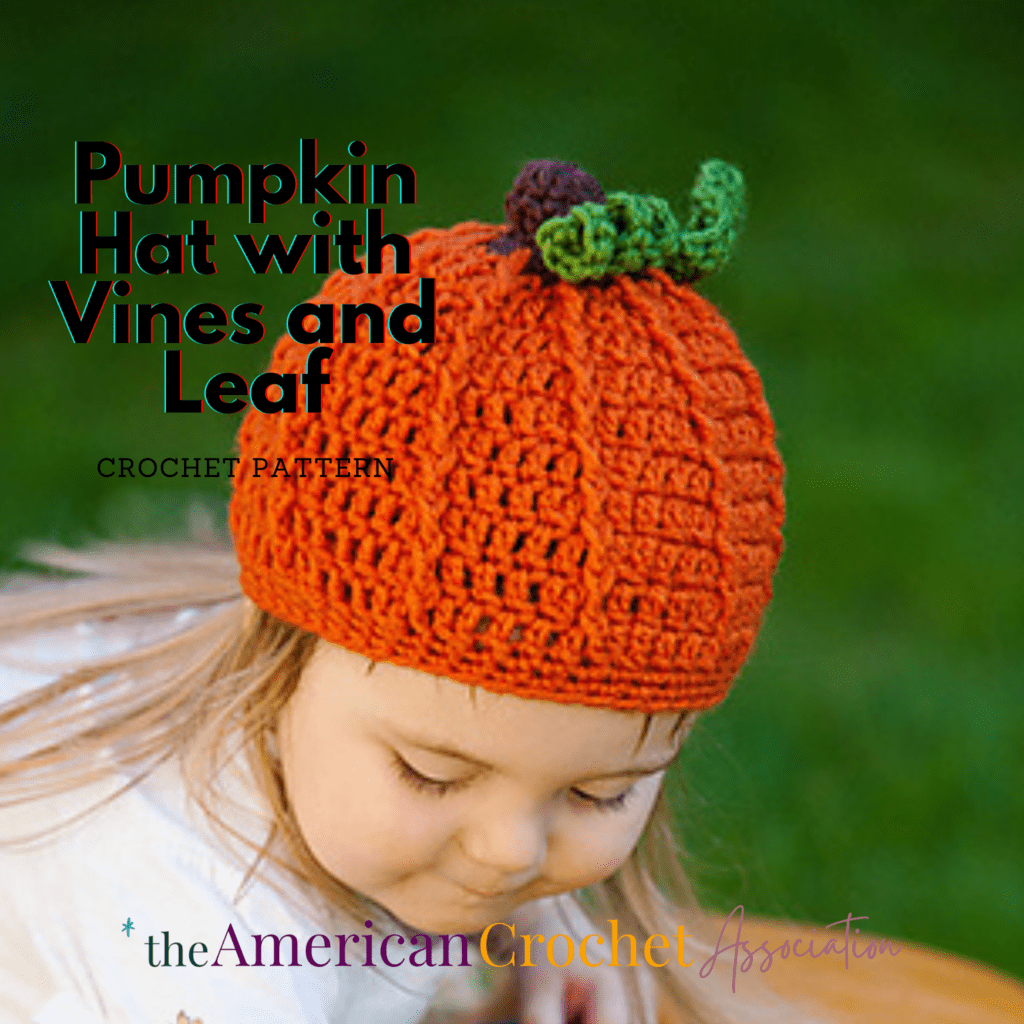
This whimsical crochet pumpkin hat is adorned with delicate leaf and vine accents and showcases specialty stitches that set it apart from anything you would see in a store.
Available in multiple sizes tailored for children, this pumpkin hat crochet pattern is the perfect accessory to elevate their fall wardrobe.
Using just 3 different colors, you’ll have a custom pumpkin hat to wear: brown for the stem, orange for the pumpkin, and green for the vine and leaf.
Crochet is the perfect craft to embrace the magic of fall, and this costume hat is the perfect autumn accessory for your next:
- Photography prop
- Pumpkin patch accessory
- Halloween costume
- Craft fair best-seller
Crochet pumpkin hats are more than just an accessory; it’s a piece of the season’s wonder, and a tangible expression of your love.
So, gather your crochet hooks, select your favorite autumn-inspired yarn, and get ready to embark on a crochet journey that’s sure to warm hearts and heads alike with the Crochet Pumpkin Hat:
- This crochet pumpkin hat pattern is a quick and decorative crochet project to work up!
- Hat makes a great photography prop and halloween costume!
- Designed for worsted weight yarn because that is one of the most common and accessible yarns in crochet!
- You’ll get to practice a lot of crochet skills: joined rounds, stitch tension, gauge & size, increasing, post stitches, color changes, spike stitches, embellishments, finishing techniques & more!
This post may contain affiliate links.
Table of contents
Estimated reading time: 12 minutes
Introduction
What is special about this crochet pumpkin hat?
Introducing our enchanting Pumpkin Hat pattern – a delightful blend of crochet and creativity, specially designed to celebrate the spirit of autumn.
Whether you’re heading to the pumpkin patch, looking for a cute photography prop for fall pictures, or need a best-seller for your next craft fair, this is a warm and decorative accessory everyone will love.
Designed with lots of attention to detail, this whimsical hat includes delicate leaf and vine accents and showcases specialty stitches that set it apart as a fun piece of art.
Each piece of this crochet hat pattern includes elements that are iconic for pumpkins; from the brown stump, to the ridges on the sides, and the perfectly curly vine and leaves in two sizes.
Who is this hat suited for?
We understand that children come in all shapes and sizes, which is why this pattern is available in multiple sizes.
This is intended for younger children; Whether your child is a newborn, baby, or toddler, there’s a perfect fit waiting to warm their little heads!
Selecting the Perfect Yarn
What yarn should I use?
I knew I needed the perfect autumn pumpkin colors to make this hat, and Lion Brand Yarn Vanna’s Choice has them all.
Vanna’s Choice Yarn has been a staple in the industry for many years, so even though this hat was first designed back in 2010, I can still find and use the same autumn colors I did back then.
To get the same look, I suggest using:
- Chocolate, for the stem
- Terracotta, for the pumpkin hat
- Kelly Green, for the spiral vine and leaves
And, if you’re going for slightly different colors to crochet your pumpkin hat, there are so many different colors you can choose from to create the exact style you love.
How can I choose a yarn substitute?
Because the stitch and row measurements of this pattern are important to make the right hat size, the yarn you use matters.
The gauge and size measurements for this pumpkin hat are taken with Lion Brand Vanna’s Choice yarn, using a US I crochet hook (5.5mm).
If you would like to substitute, and use another yarn to follow this pattern, I suggest starting with the same weight yarn and making a test swatch to see if it can give you the same results.
You can read more about how to substitute yarn right here: Understanding Yarn Substitution – An Easy Reference For Crocheters
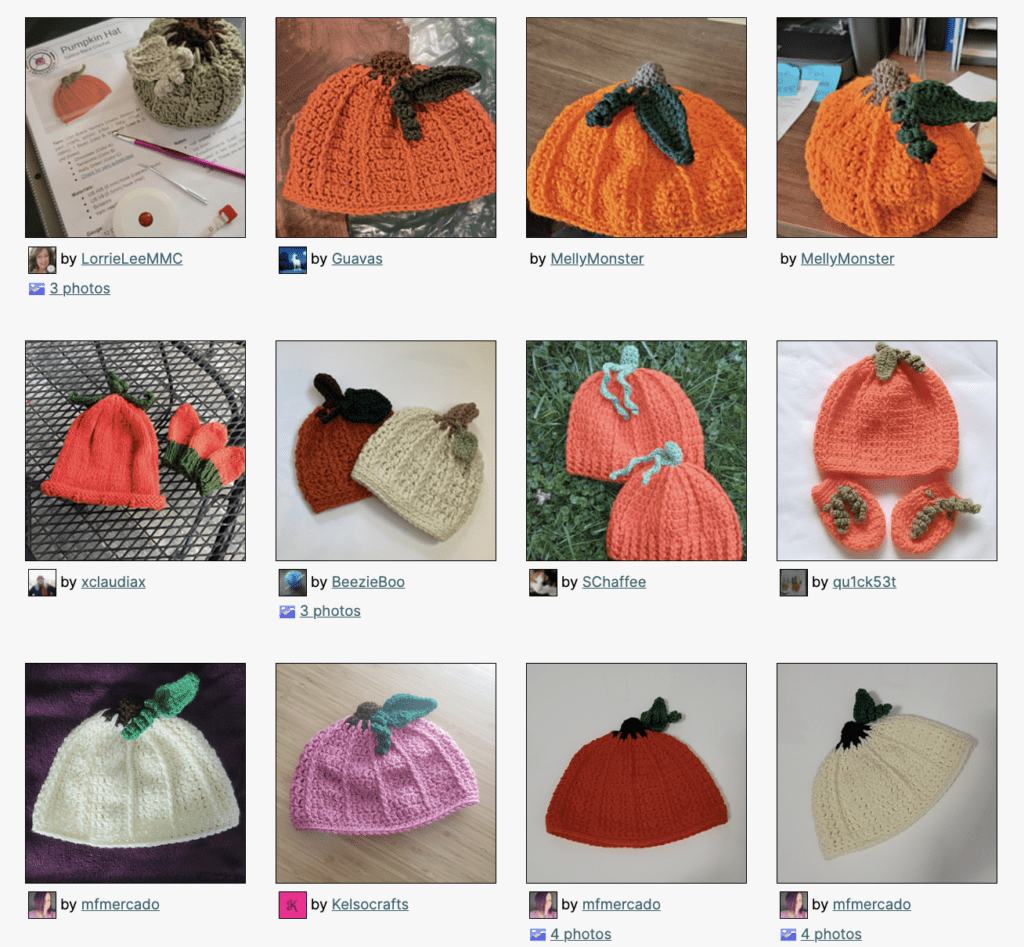
You can view dozens of completed Pumpkin Hat projects for inspiration when you visit ravelry, right here: https://www.ravelry.com/patterns/library/pumpkin-hat-with-vine-and-leaf/people
For a close match to Vanna’s Choice yarn, here are some yarns I recommend you review first:
Sizing Options
How many sizes are included in this pattern?
Because this is such a decorative accessory, it is written especially for newborn babies up to a toddler age.
Specifically, this hat pattern is available in sizes based on the circumference (measurement around) in three different measurements:
- 13.25” around x 5.5” tall
- 16.5” around x 6.25” tall
- 20” around x 7.25” tall
It is important to note that sizes by age alone are not the best detail to use when crocheting a hat that should fit.
For example, not all newborns have 12″ head circumference, and not all five-year-olds have a 20″ head circumference.
Can I alter the size of this hat?
You may slightly alter the overall size of this pattern as you crochet by using different weights of yarn: a smaller weight for a smaller size, a larger weight for a larger size.
For the best fitting hat, always measure the head first and then crochet a hat based on that specific measurement.
To get a list of the most popular crochet hat sizes (from Newborn 12″ up to Adult Large 24″), check out these tips, and get a free cheat sheet, right here:
Helpful Resources
Project Inspiration
Check out other finished Crochet Pumpkin Hats on ravelry, right here:
How to change colors in crochet rounds
To get the pumpkin stump to really stand out from the pumpkin hat, a color changes should be made as indicated in the instructions.
If you’d like to see my favorite tip to change colors in crochet rounds, Check out this quick video tutorial, right here:
More fun crochet hat designs
If you love the whimsical idea of this crochet pumpkin hat and would like to see other similar styles, we have a few more patterns you can view.
Other fun crochet hat patterns are free to view on our site, including these popular patterns, right here:
Policy for Individual Use
This crochet pattern is designed by Salena Baca Crochet for the American Crochet Association.
Pattern instructions are protected by copyright laws.
Users must acknowledge and respect the intellectual property rights of pattern creators and designers as follows:
- This pattern is for personal use only. Pattern instructions may be accessed and used by individuals for personal, non-commercial purposes only. Users may create finished products based on the pattern instructions for personal use or gifting.
- Users may not reproduce, distribute, modify, or create derivative works of pattern instructions without explicit permission from the copyright holder.
- Selling or commercially exploiting products made from pattern instructions will require additional permissions or licensing from the copyright holder.
- It is unlawful to share or distribute pattern instructions in any way, including but not limited to: print, digital, video.
- It is unlawful to create derivative works based on pattern instructions, including but not limited to translations, adaptations, or variations.
- Users should provide proper attribution when sharing or displaying finished products made using these pattern instructions, giving credit to the original pattern creator and source.
- Users are expected to conduct themselves in an ethical and respectful manner when using pattern instructions. Users should not engage in plagiarism, claim others’ work as their own, or misrepresent the origin of pattern instructions.
By accessing and using pattern instructions, individuals agree to abide by the usage policy herein.
Users may be held responsible for any damages or legal liabilities resulting from their non-compliance with this policy.
Purchase a PDF file on Ravelry
Click Here to purchase a downloadable PDF version of this pattern!
Making the Crochet Pumpkin Hat
Yarn
Lion Brand Yarn Vanna’s Choice, Medium #4 yarn (100% acrylic; 3.5oz / 100g, 171yd / 156m): 1 Skein Color B, 50 yards Color A, C (All Sizes).
- Chocolate (Color A)
- Terracotta (Color B)
- Kelly Green (Color C)
- Check for yarn substitutes!
Materials
- US H/8 (5 mm) hook (Leaves, Vines)
- US I/9 (5.5mm) hook (Hat)
- Scissors
- Yarn needle
Gauge
- 12 Dc Sts = 4”
- 11 Dc rows = 5”
Sizes
- 13.25” around x 5.5” tall
- 16.5” around x 6.25” tall
- 20” around x 7.25” tall
Stitch Key
- Ch(s) = chain(s)
- Sc = single crochet
- Hdc = half double crochet
- Dc = double crochet
- Tc = triple crochet
- Sl St = slip stitch
- St(s) = stitch(es)
Specialty Stitches and Techniques
- Adjustable Loop
- FPDC (Front Post Dc)
- SDc (Spike Dc) = Work 1 Dc into top of St 1 round below current St.
- Dc2Tog (Dc 2 Sts Together) = [Yarn over, insert hook into next St, yarn over, pull through St, yarn over, pull through 2 loops on hook] 2 times, yarn over, pull through all loops on hook.
Pattern Notes
- This hat is worked in joined rounds from the top down.
- Embellishments (Leaf, Vine) can be created in two sizes (Small, Large) as desired. These embellishments are worked and attached last.
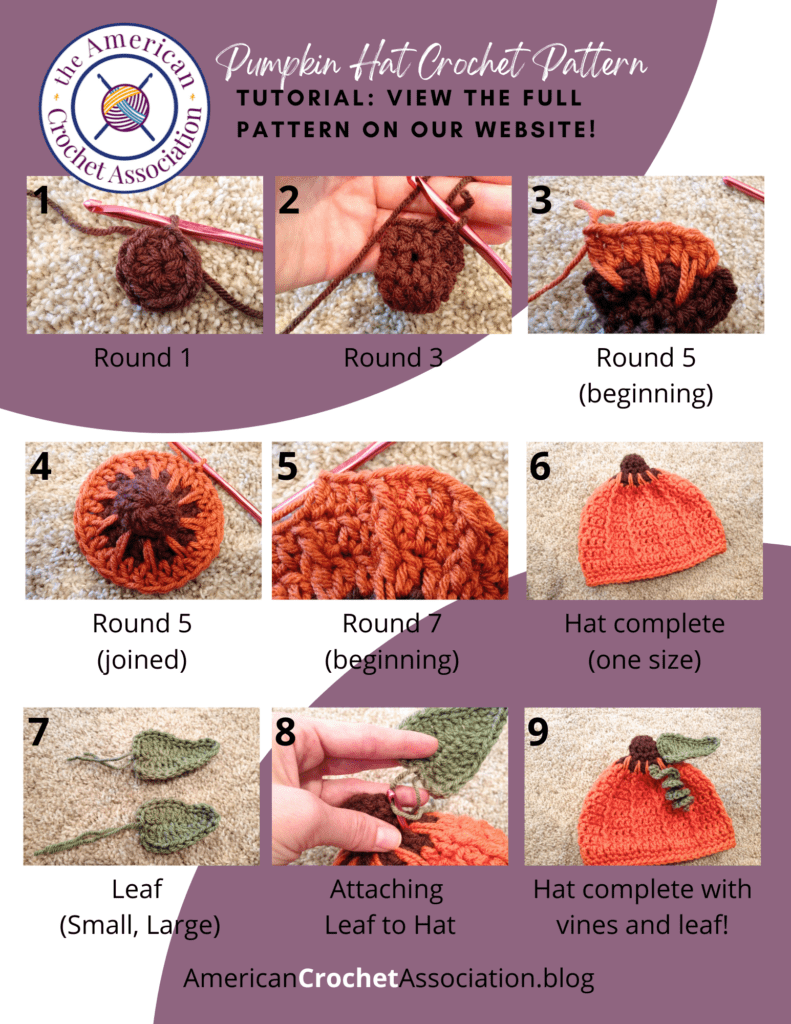
Step-by-step photo tutorial
The first few rounds and specialty stitches might be tricky to work up, so this step-by-step photo tutorial should help you to get started:
Step-by-step Instructions
Hat (all sizes)
Round 1 (Right Side): With Color A, form adjustable loop, Ch 2 (not a St, here and throughout), work 10 HDc into ring, Sl St to join – 10 Hdc
Round 2-3: Ch 2, work 1 HDc into each St around, Sl St to join – 10 Hdc
Round 4: Ch 2, work 2 Dc into each St around, Sl St to join, fasten off color A – 20 Dc
Round 5: With Color B, Ch 2, [Dc, (Dc, SDc) into next St] 10 times, Sl St to join – 30 Sts; 20 Dc + 10 SDc
Round 6: Ch 2, [Dc into each of next 2 Sts, (Dc, FPdc) around SDc from previous round] 10 times, Sl St to join – 40 Sts; 30 Dc + 10 FPdc
Continue to instructions for preferred size.
13.25” Size
Rounds 7-11: Ch 2, [Dc, Dc2Tog, (Dc, FPdc) into next St] 10 times, Sl St to join – 40 Sts; 20 Dc + + 10 Dc2Tog + 10 FPdc
Rounds 12-13: Ch 1 (first Sc), Sc into each St around, Sl St to join – 40 Sc
Fasten off after last round complete.
16.5” Size
Round 7: Ch 2, [Dc into each of next 3 Sts, (Dc, FPdc) around SDc from previous round] 10 times, Sl St to join – 50 Sts; 40 Dc + 10 FPdc
Rounds 8-13: Ch 2, [Dc into each of next 2 Sts, Dc2Tog, (Dc, FPdc) into next St] 10 times, Sl St to join – 50 Sts; 30 Dc + 10 Dc2Tog + 10 FPdc
Rounds 14-15: Ch 1 (first Sc), Sc into each St around, Sl St to join, fasten after last round – 50 Sc
Fasten off after last round complete.
20” Size
Round 7: Ch 2, [Dc into each of next 3 Sts, (Dc, FPdc) around FPdc from previous round] 10 times, Sl St to join – 50 Sts; 40 Dc + 10 FPdc
Round 8: Ch 2, [Dc into each of next 4 Sts, (Dc, FPdc) around FPdc from previous round] 10 times, Sl St to join – 60 Sts; 50 Dc + 10 FPdc
Rounds 9-15: Ch 2, [Dc into each of next 2 Sts, Dc2Tog, Dc into next St, (Dc, FPdc) into next St] 10 times, Sl St to join – 60 Sts; 40 Dc + 10 Dc2Tog + 10 FPdc
Round 16-17: Ch 1 (first Sc), Sc into each St around, Sl St to join, fasten after last round – 60 Sc
Fasten off after last round complete.
Embellishments
Make 1 leaf (large or small) and 1 vine (large or small) per hat.
Small Leaf
Row 1 (Right Side): (With Color C and H Hook) Leave 6” tail, Ch 8, skip 1 Ch (not a St), Sc, HDc into next two Ch, Dc into next, work 2 Dc into each of next two Ch, (Dc, Ch 2, Sl St) into last Ch – 10 Sts; Sc + 2 Hdc + 6 Dc + Ch-2
Do not fasten off, turn to work into opposite side of Ch base.
Row 2: (Ch 2, Dc) into first Ch, work 2 Dc into next two Ch, Dc into next Ch, HDc into next two Ch, Sc into last Ch – 10 Sts; Sc + 2 Hdc + 6 Dc + Ch-2
Do not fasten off, continue working across top of Row 1. Sl St into each of next 10 Sts and 2 Ch, fasten off 6” tail end.
Large Leaf
Row 1 (Right Side): (With Color C and H Hook) Leave 6” tail, Ch 10, Skip 1 Ch (not a ST), Sc, HDc into next 2 Ch, Dc into next 3 Ch, work 2 Tc into each of next two Ch, (Tc, Ch 3, Sl St) into last Ch – 10 Sts; Sc + 2 Hdc + 3 Dc + 3 Tc + Ch-3
Do not fasten off, turn to work into opposite side of Ch base.
Row 2: (Ch 3, Tc) into first Ch, work 2 Tc into next two Ch, Dc into next 3 Ch, HDc into next two Ch, Sc into last Ch – 12 Sts; Sc + 2 Hdc + 3 Dc + 5 Tc + Ch-3
Do not fasten off, continue working across top of Row 1. Sl St into each of next 12 Sts and 3 Ch, fasten off 6” tail end.
Vine: Small (Large)
Row 1: (With Color C and H Hook) Leave 6” tail, Ch 16 (21), work 2 Sc into second Ch from hook and each Ch across, fasten off 4” tail end – 30 (40) Sc
Finishing (all sizes)
Position Leaves & Vines on Round 4, where desired. Use tail ends to fasten Leaves & Vines to hat, knotting 6” tail ends together on wrong side. Sew in all ends, trim excess.
Video Chat
To hear more about this crochet pumpkin hat pattern, watch my quick video chat RIGHT HERE:
Click Here to share your finished project in our community!
Peace + Love + Crochet
Salena


Hi! Would this pattern work for a newborn?
Hello! The pattern is worked up by size (head circumference), and the smallest could work for a newborn. You can learn more, and alter the size, right here: https://americancrochetassociation.blog/free-calculator-measure-crochet-hat-sizes/
I am starting this project and it states that there chain 2 is not a stitch. So when I slip stitch. Do I skip the chain 2 and slip stitch into the first half double crochet or do I slip stitch into the top of chain two. I am So confused. Please help.
Thank you for asking! When the beginning / starting chain does not count, you’ll ignore it entirely! This will help: https://americancrochetassociation.blog/where-to-place-stitches-in-crochet/