
Affiliate Disclosure: This post may contain affiliate links, which means the American Crochet Association may earn a small commission from qualifying purchases made through links on our site, at no additional cost to you. Learn more on our Disclosures and Disclaimers page.
If you love to learn new crochet stitches, the griddle stitch is a simple and textured pattern to try with our step-by-step instructions and tutorial!
The griddle stitch pattern is worked with the chain, single and double crochet stitches and has just one repeating row.
That means this is a great stitch pattern for beginners and experienced crocheters (and everyone in between).
Because the griddle stitch is worked with basic stitches in a simple repeat, you’ll be able to easily work this without a lot of thinking and counting.
Hooray for a simple and relaxing crochet stitch pattern!
The best thing about the griddle stitch is that it creates a reversible crochet fabric – that means either side can be the right side and neither side is the wrong side!
The griddle stitch is a really basic texture, creating a dense fabric that can be used in so many ways: washcloth, tote bag, sweater, pillow cover, blanket, and more.
Learning how to crochet the griddle stitch is a fantastic way to build your crochet knowledge, skill, and ability because:
- You can practice the griddle stitch with cotton yarn to make a washcloth (bonus, these are great gift ideas)!
- The griddle stitch creates a gorgeously textured fabric that is great for the kitchen or bathroom!
- You’ll get to practice crochet skills while you learn the griddle stitch, like: creating even stitch and pattern tension, making your gauge & size more uniform, trying out finishing techniques, and so much more!
Estimated reading time: 8 minutes
Table of contents
This post may contain some affiliate links.
Griddle Stitch Resources
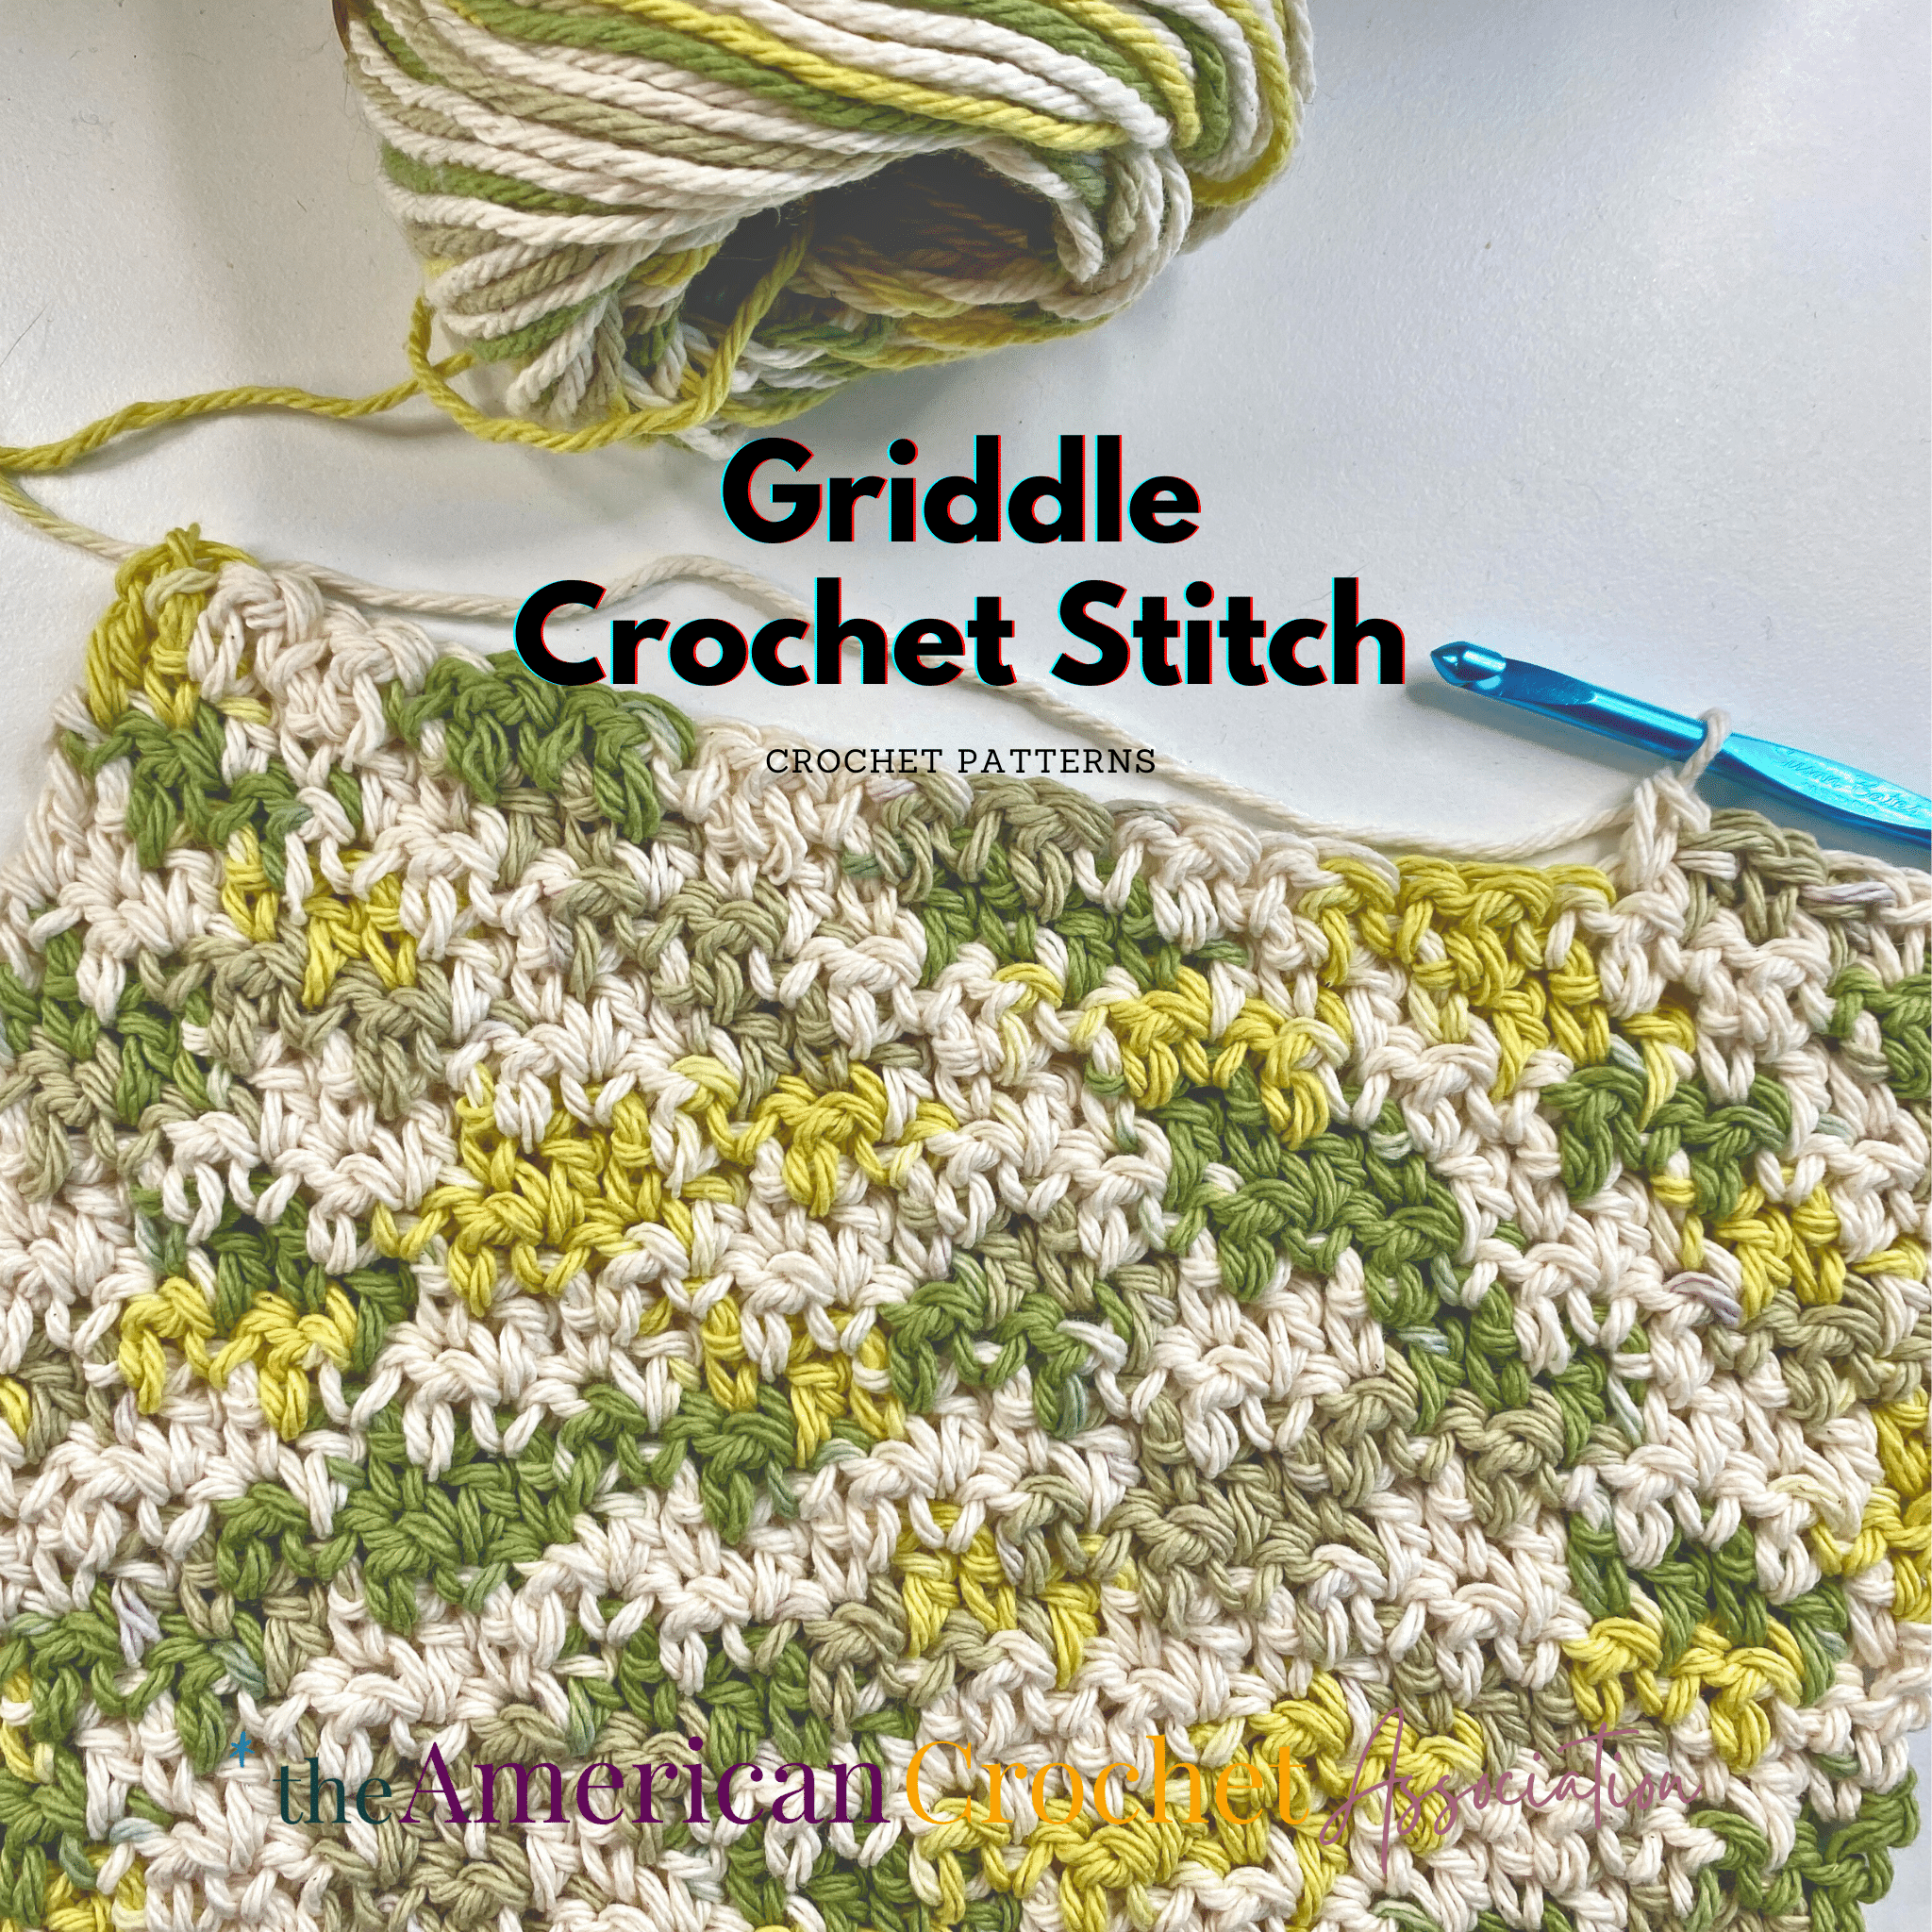
What is the Griddle Stitch?
The crochet griddle stitch is a combination of chains, single crochet, and double crochet stitches.
Every row starts with a single crochet stitch and ends with a double crochet stitch, which always makes the final stitch count odd.
That means the same stitch is never placed upon itself – singles are worked on top of doubles, and doubles on top of singles.
Finally, don’t be surprised if you see other names for this particular arrangement of stitches used, such as the woven stitch or the lemon peel stitch.
What can I make with the Griddle Stitch?
The griddle stitch creates a dense crochet fabric without any openings or holes.
This lack of open spaces in the fabric means that is more dense, which is great for so many different types of crochet projects, like:
- crochet washcloth or dishcloth
- crochet blankets
- crochet hats and scarves
After you learn the griddle stitch, give this crochet pillow cover a try (it is worked with the same stitch pattern): Woven Crochet Pillow Cover: Use any yarn to make any size!
Because the griddle stitch just repeats the same row of stitches, the fabric you create here is reversible.
That means both sides of the fabric look exactly the same.
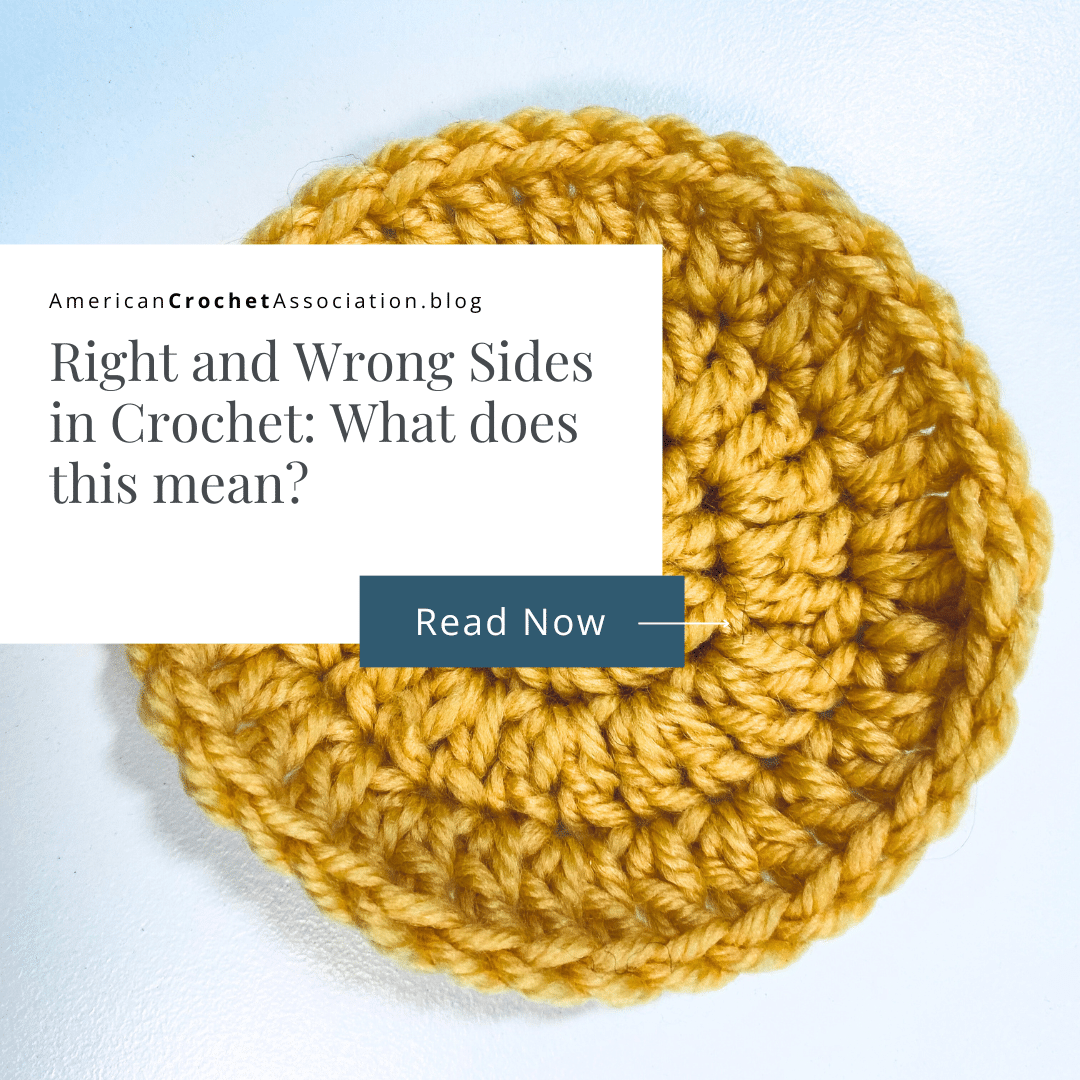
If you’re confused about right and wrong sides mean in crochet, here is a break down of the terms to help you understand how to spot the differences: Right and Wrong Sides in Crochet: What does this mean?
How can I resize the Griddle Stitch?
This crochet stitch can be made in any odd number of chains, plus one turning chain that will not count as a stitch.
That means you will chain an even number, skipping just one chain when you start each row.
If you crochet from right to left, the stitch pattern for your first row will look like like this:
T+T+T+
+ = single crochet
T = double crochet
[Single crochet, double crochet] across the entire row of chains.
Your second row and beyond will work up exactly the same after you turn your work.
How many chains for a blanket?
To crochet a blanket with the griddle stitch, you will need to know how many chains to make for the size you need.
Check out our Crochet Memberships for all skill levels!
From First Stitch to Crochet Career, Unravel Your Complete Journey With The American Crochet Association!
The number of chains will depend on a few things, like:
- The size yarn and hook you want to use: You can start by using the griddle stitch pattern here to crochet a swatch.
- The size blanket you want to make: After you create a swatch with the yarn and hook size you choose, you can decide how many chains to make for the blanket size you need.
Finished Griddle Stitch Washcloth
Follow our griddle stitch pattern instructions here, and you will crochet a small washcloth.
Click on over to Ravelry to view dozens of complete projects for this stitch pattern, to include the yarn type and color chosen: https://www.ravelry.com/patterns/library/griddle-stitch-washcloth-2/people

More Crochet Stitch Patterns
If you love learning new crochet stitches, we have over thirty you can view for free on our YouTube channel, including:
- Star Stitch Crochet Tutorial
- Simple Wave Stitch Crochet Tutorial
- Basketweave Crochet Stitch Tutorial
Policy for Individual Use
This crochet pattern is designed by Salena Baca Crochet for the American Crochet Association.
Pattern instructions are protected by copyright laws.
Users must acknowledge and respect the intellectual property rights of pattern creators and designers as follows:
- This pattern is for personal use only. Pattern instructions may be accessed and used by individuals for personal, non-commercial purposes only. Users may create finished products based on the pattern instructions for personal use or gifting.
- Users may not reproduce, distribute, modify, or create derivative works of pattern instructions without explicit permission from the copyright holder.
- Selling or commercially exploiting products made from pattern instructions will require additional permissions or licensing from the copyright holder.
- It is unlawful to share or distribute pattern instructions in any way, including but not limited to: print, digital, video.
- It is unlawful to create derivative works based on pattern instructions, including but not limited to translations, adaptations, or variations.
- Users should provide proper attribution when sharing or displaying finished products made using these pattern instructions, giving credit to the original pattern creator and source.
- Users are expected to conduct themselves in an ethical and respectful manner when using pattern instructions. Users should not engage in plagiarism, claim others’ work as their own, or misrepresent the origin of pattern instructions.
By accessing and using pattern instructions, individuals agree to abide by the usage policy herein.
Users may be held responsible for any damages or legal liabilities resulting from their non-compliance with this policy.
Purchase A PDF File On Ravelry
For a copy of this pattern, you can purchase a downloadable PDF version on Ravelry.
How To Crochet The Griddle Stitch
Yarn
The example was made with Lily Sugar’n Cream yarn (100% cotton) in the color Guacamole.
To find other natural fibers, or other brands that carry cotton yarn, I suggest looking on yarnsub.com and comparing the yarn used to write this pattern..
You can read more about how to substitute yarn, including my best tips to choose yarn alternatives, right here: Understanding Yarn Substitution – An Easy Reference For Crocheters
If you want to use a substitute, here are more cotton yarns I recommend:
Tools
Gauge
The stitch and row gauge is not crucial for this project, if you are working up a crochet washcloth or dishcloth.
Finished Size
If you follow the griddle stitch instructions to make a washcloth or a dishcloth, the finished measurements should measure:
8.5″ across x 8.5 tall”
If you would like to work this stitch into a project of your choosing, measure your stitch and row fabric as you go for the desired dimensions.
Stitch Guide
This crochet stitch pattern is worked with basic crochet stitches in their most basic form.
You can see these stitches in action as you watch these video tutorials (just click on the underlined text):
- Ch(s) = chain(s)
- Sc = single crochet
- Dc = double crochet
- St(s) = stitch(es)
- Sl St = slip stitch
Pattern Notes
- The griddle stitch pattern can be repeated in any even multiple (add 1 for the turning ch, which does not count as a st).
- You can finish this project by weaving or sewing in ends! Check out our video tutorial to learn more about both!
Griddle Stitch Step-by-step Instructions
Ch 29
- Row 1: Skip 1 Ch (not a St), [Sc into 1 St, Dc into next St] across row – 28 Sts; 14 Sc + 14 Dc
- Row 2: Ch 1 (not a St), turn, [Sc into 1 St, Dc into next St] across row – 28 Sts; 14 Sc + 14 Dc
Repeat row 2 until 24 rows are complete, fasten off.
Finishing
Sew in ends, trim excess.
Griddle Stitch Video Tutorial
If this is your first time working the griddle stitch pattern, use our video as you read the written instructions until your comfortable: Griddle Stitch Video Tutorial
Video Chat
To hear more about the griddle stitch, watch my quick video chat right here: Learn to crochet the griddle stitch
Click Here to share your finished project in our community!
Peace + Love + Crochet
Salena

Love learning new stitches and you’re an awesome teacher Salena! Thank you for all the details and tips you give!
Always happy to share – thank you for trusting us with your crochet time!
This is also called as moss stitch . I have made a blazer in this
I believe the moss (linen, granite) stitch is a different repeat of stitches, like this: https://youtu.be/nvI7iVUSV0Q?si=3FYIivfqJk0C-fej
I’m excited to make a cloth today!
Hooray! Share a picture when you’re done 🙂
First time on any blog where clicking an image to pin actually allowed me to pin it.
Hooray! Thank you so much for giving it a try 🙂