
Affiliate Disclosure: This post may contain affiliate links, which means the American Crochet Association may earn a small commission from qualifying purchases made through links on our site, at no additional cost to you. Learn more on our Disclosures and Disclaimers page.
If you are looking for an easy one piece crochet stocking pattern that is quick and beginner friendly, give this one a try!
Crocheting a Christmas stocking is not just a creative project, it’s a heartwarming tradition that brings joy and a personal touch to your home.
Designed with ease in mind, this pattern is perfect for beginners who are looking to learn and do more, and seasoned crocheters who need a fun and easy project.
By using a one-piece construction method, you’ll find yourself totally hooked in the joy of this crochet stocking pattern without the hassle of assembling multiple pieces together.
Featuring classic holiday elements like a solid body to showcase your favorite yarn colors, and a hanging loop for display, this pattern is a blank canvas to make your very own.
Ready to start one right now?
The Noel Christmas Stocking embodies the spirit of the season, whether you’re making these one piece stockings as thoughtful gifts or as a special addition for your own mantle:
- You can use yarn you already have on hand!
- These make great gifts for the holiday season!
- Stockings use very little yarn, so they’re great stash-busters!
- You’ll get to practice a lot of crochet skills: Yarn and color choice, continuous rounds, simple stitch and round repeats, shaping, one-piece project with dimension, finishing techniques & more!
This post may contain affiliate links.
Table of contents
Estimated reading time: 12 minutes
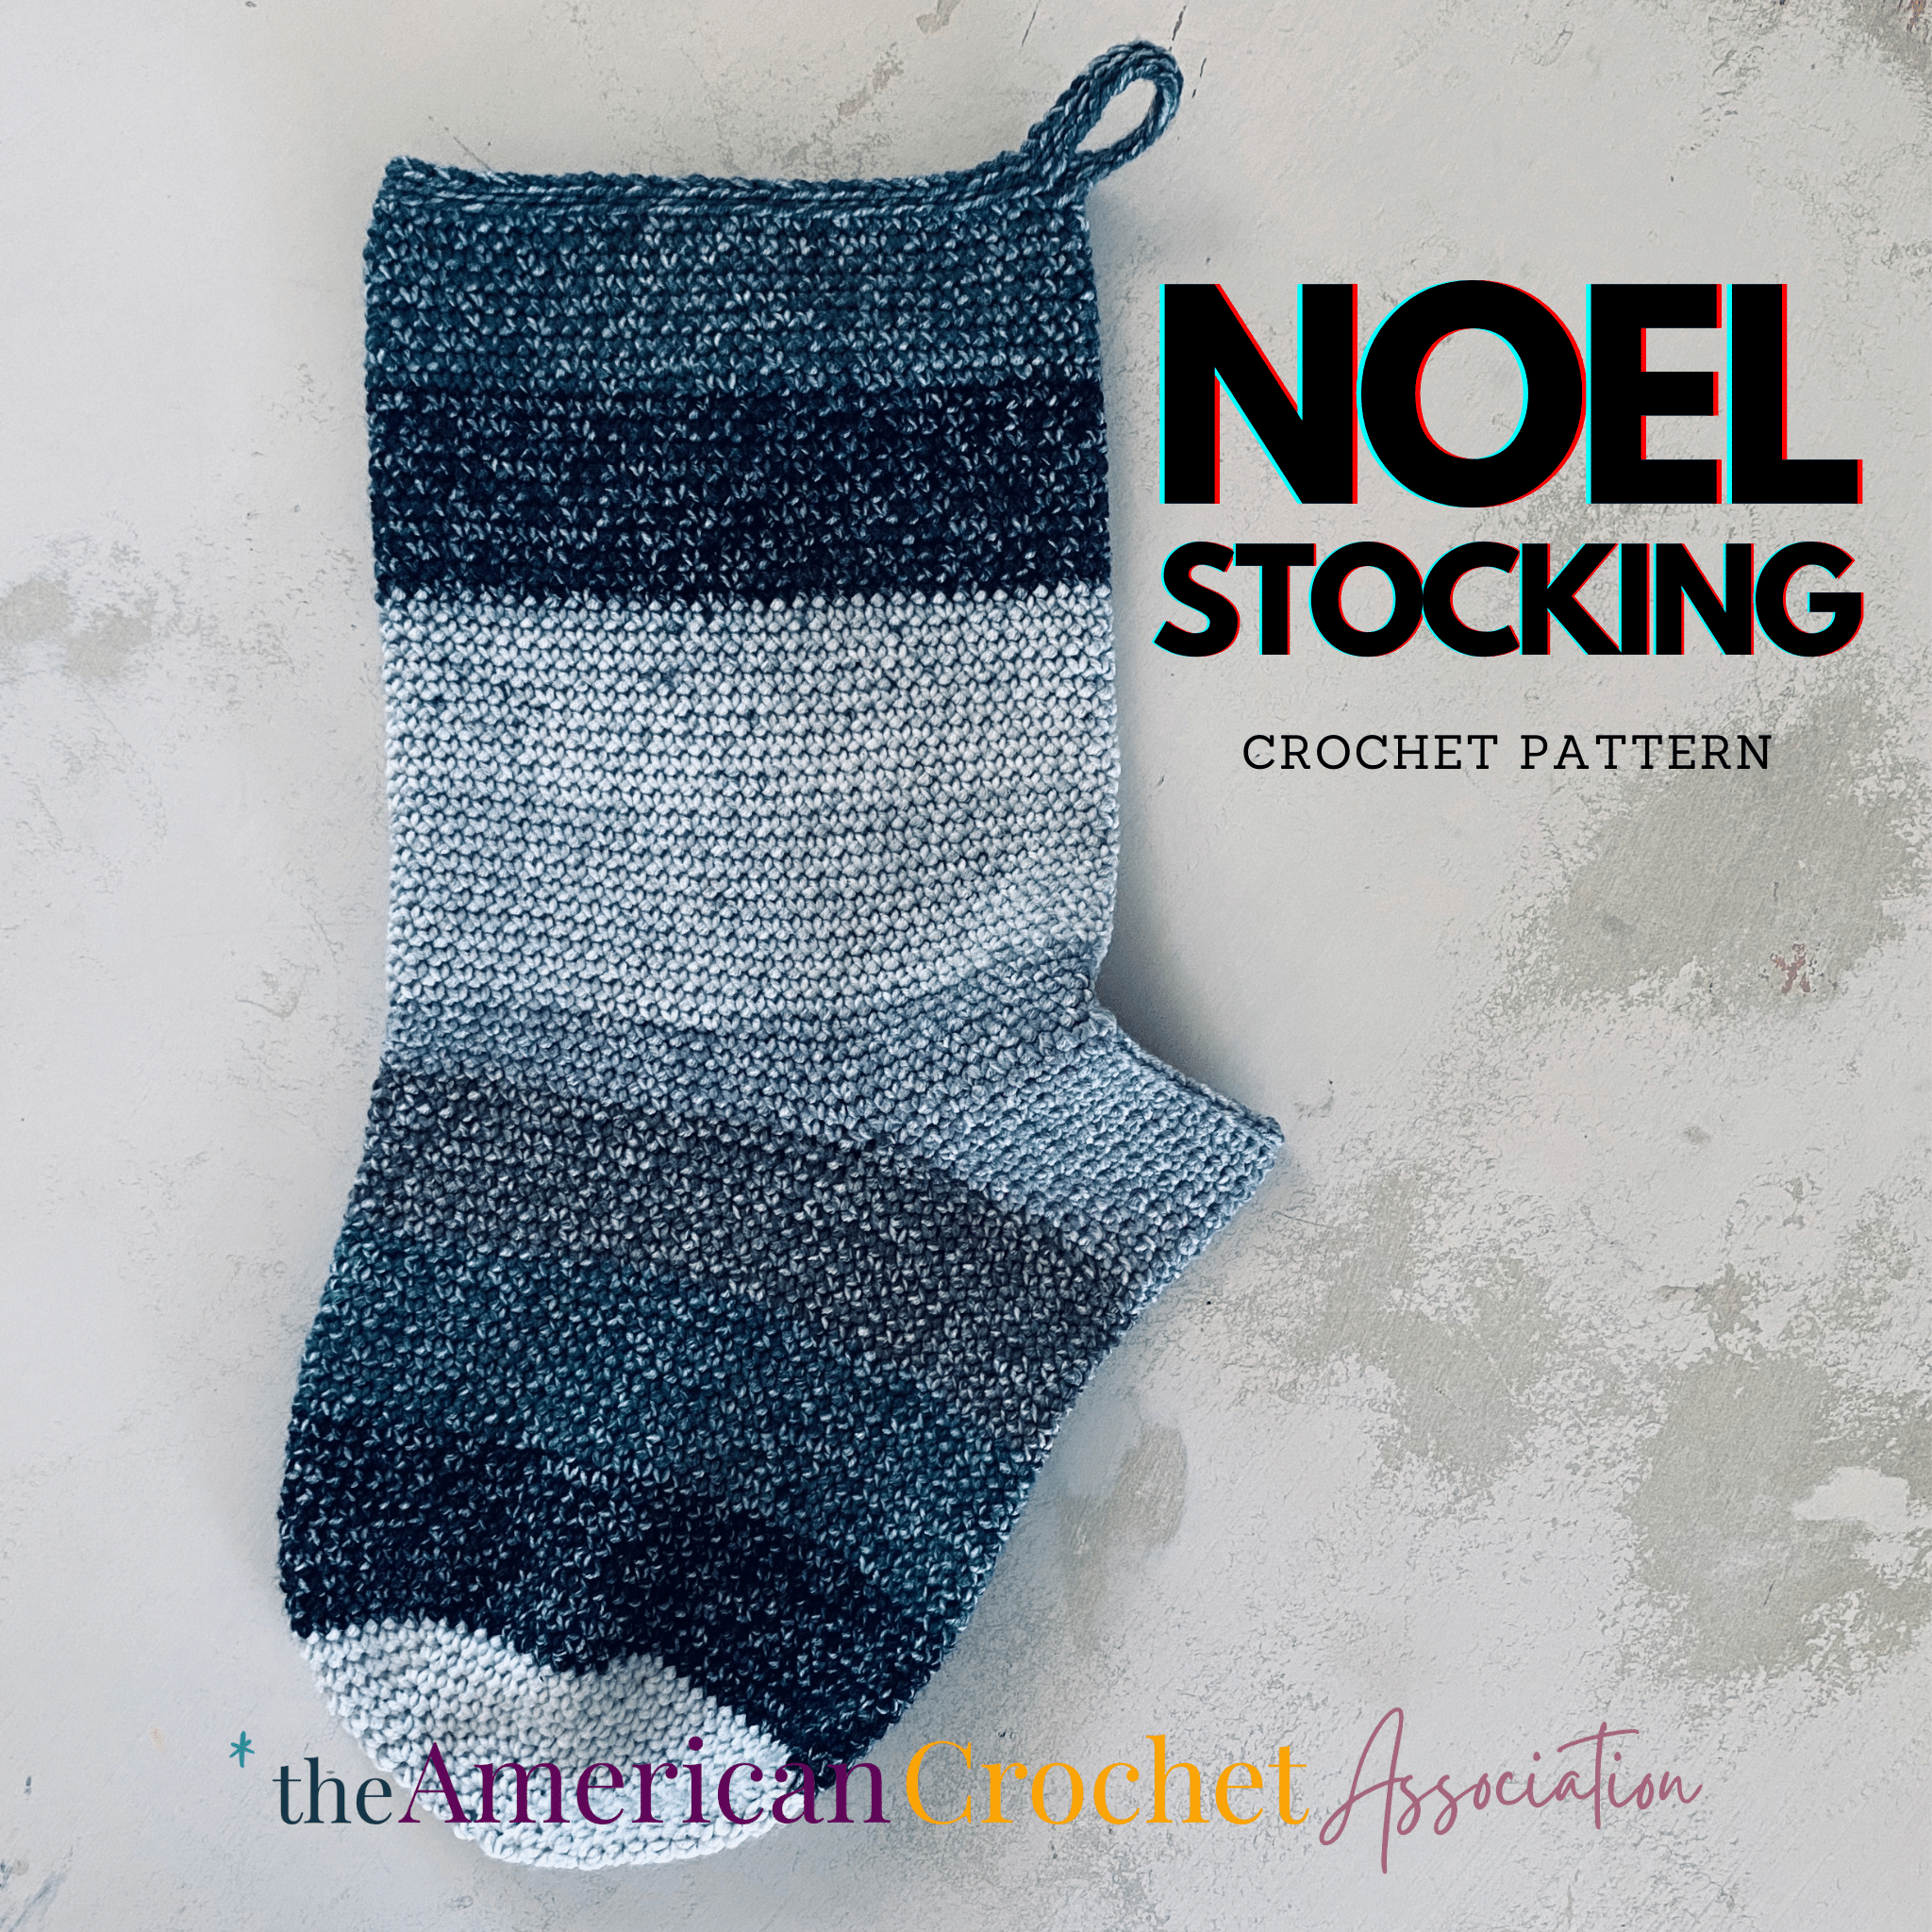
Noel Christmas Stocking: Introduction
One Piece Seamless Construction
The Noel Christmas Stocking is made from the toe up in continuous rounds of crochet – that means you won’t join each round as you go, which will eliminate a seam and give your stocking a really clean look.
Yes, even the heel of this easy crochet stocking pattern is worked into the one piece design – that means you won’t fasten off your yarn at any point of this pattern.
And, when you do get to the heel section of the pattern, just follow the written instructions to work back and forth in simple rows – it really is that easy!
Finally, the shaft and hook hanger are added in the same seamless and clean rounds of continuous crochet work, making this a really easy crochet stocking pattern to work up!
Working in Continuous Rounds
In crochet, continuous rounds are not joined after each round is complete.
Instead, after the first round is worked, the second round begins directly into the top of the first stitch of the firs round – this creates a spiral, and eliminates the need to join rounds of crochet.
And, if you’ve never worked in continuous rounds of single crochet before, this pattern walks you through each round of repeats (including the end stitch counts) so that you’ll have exactly what you need to make the perfect stocking.
For a guided tutorial to see exactly how single crochet stitches are worked in continuous rounds, check out our video: How to crochet in continuous increasing rounds
Selecting The Perfect Yarn
What yarn was used for this crochet stocking?
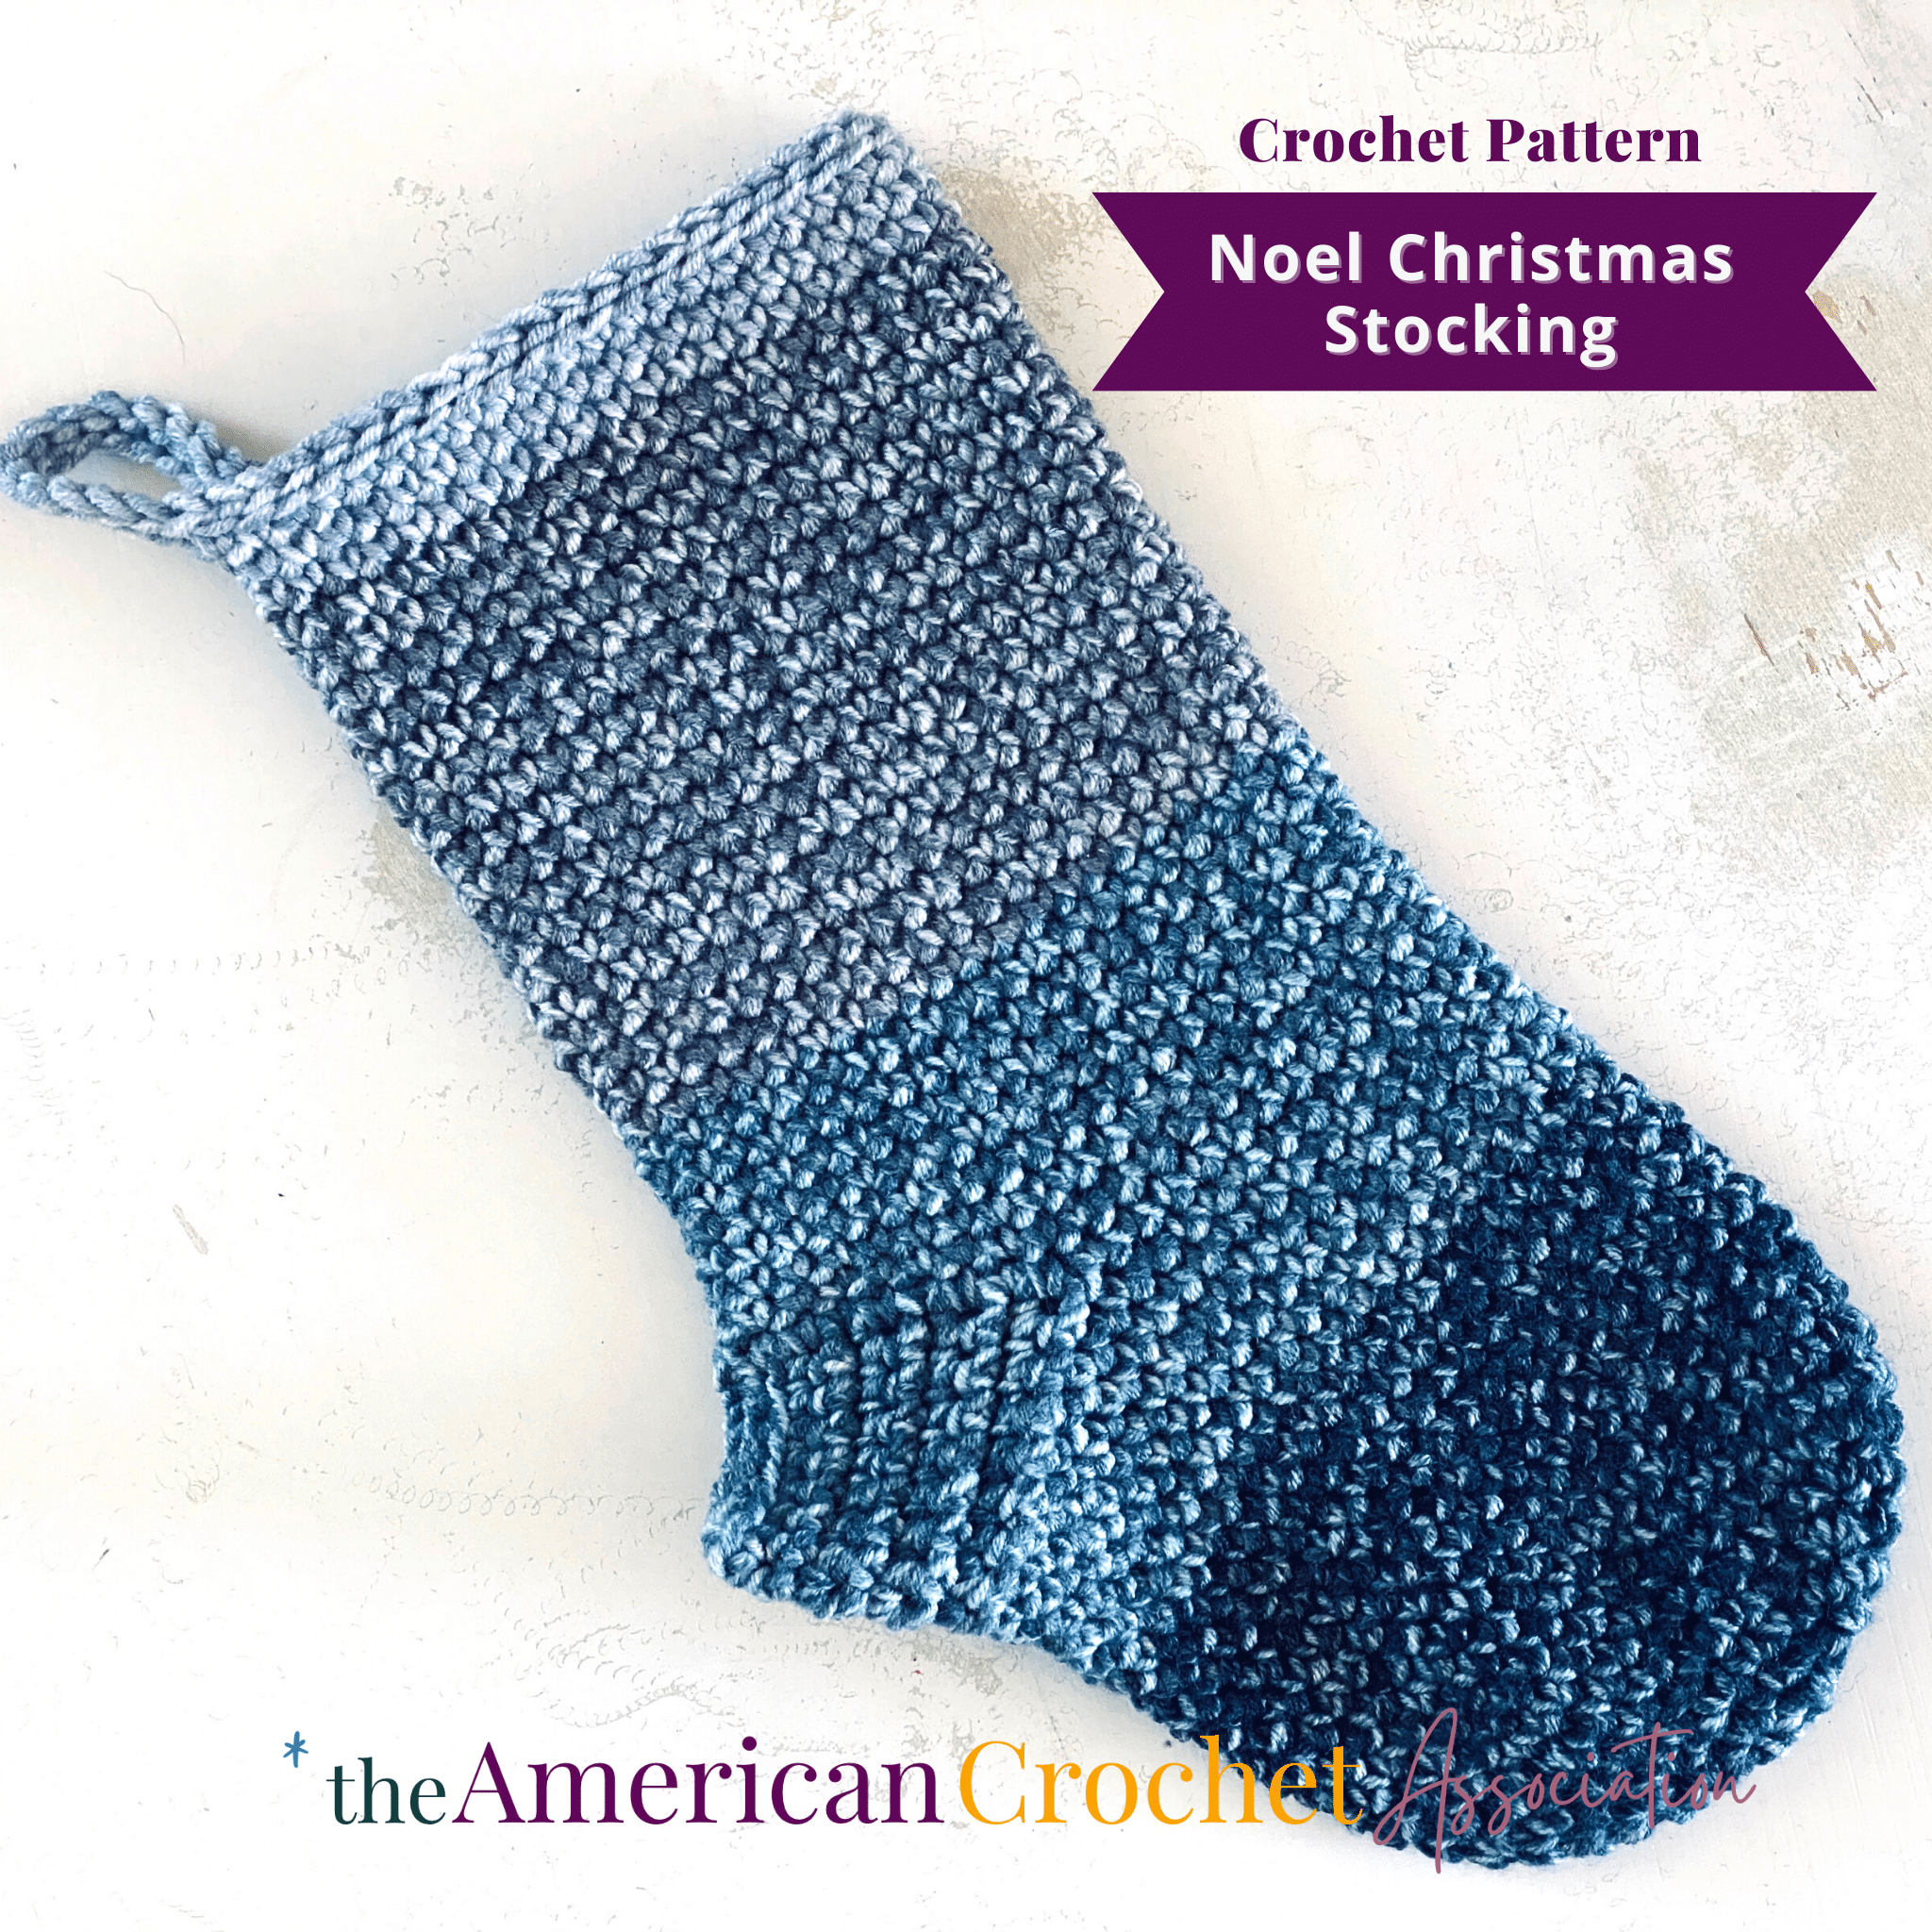
To get the exact same size and color shown in the example pictures, you’ll have to use Lion Brand Yarn Ombre.
Lion Brand Ombre is the perfect yarn for this project because:
- one cake holds about 344 yards, which is plenty for even the largest size stocking!
- there are 12 color variations to choose from!
- a single color gives tonal stripes of many colors!
- Lion Brand Yarn is a trusted source that you can find in most yarn stores, at a great price.
The color used in the examples is called Cool, which shows stripes of Medium Grey, Elephant Grey, Dark Hunter Green, and Pale Gray.
Colors are shown in an Ombre effect that allows the creamy neutral color to peek through, giving this yarn a gorgeous stone-washed and boutique look!
Get Creative With Yarn Color and Weight
You cannot make a wrong color choice with this pattern!
Because the Noel Christmas Stocking is made in a solid fabric, it can be worked in absolutely any color combination you think looks best: solid, variegated, stripes, or even a new color for every round.
Each stocking you make is totally unique depending on the colors, and placement of those colors, that you choose.
Sizing Options
Do I have to use weight 4 yarn?
In addition to using literally any color of yarn you want, you can also use any yarn weight, yarn fiber, or yarn texture you want, making this project the ultimate holiday stash-buster!
That means you don’t have to feel stuck choosing the same yarn weight or type that the pattern suggests.
Be sure to note that the yarn weight you choose will change the overall measurement of the stocking, and that is okay!
If you’re not sure how your stocking will size up with the yarn you choose, just use our quick guide to help you measure as you go (it is not just for crochet hat sizes): Easy Tip To Measure Crochet Hat Sizes: Free Calculator Tool
How many sizes are included?
There are seven different stocking sizes included in this pattern.
While this pattern is worked in one solid piece, instructions are specifically sectioned by sizes and dimensions listed assuming Lion Brand Yarn Ombre is used.
With all of these different sizes, you’re sure to find just the right one for advent, gift cards, hanging by the fireplace, or anything else you can imagine:
- 8” around x 9” tall
- 9.5” around x 10.75” tall
- 10.75” around x 12.5” tall
- 12” around x 14.25” tall
- 13.5” around x 16” tall
- 14.5” around x 17.75” tall
- 16” around x 19.5” tall

Helpful Resources
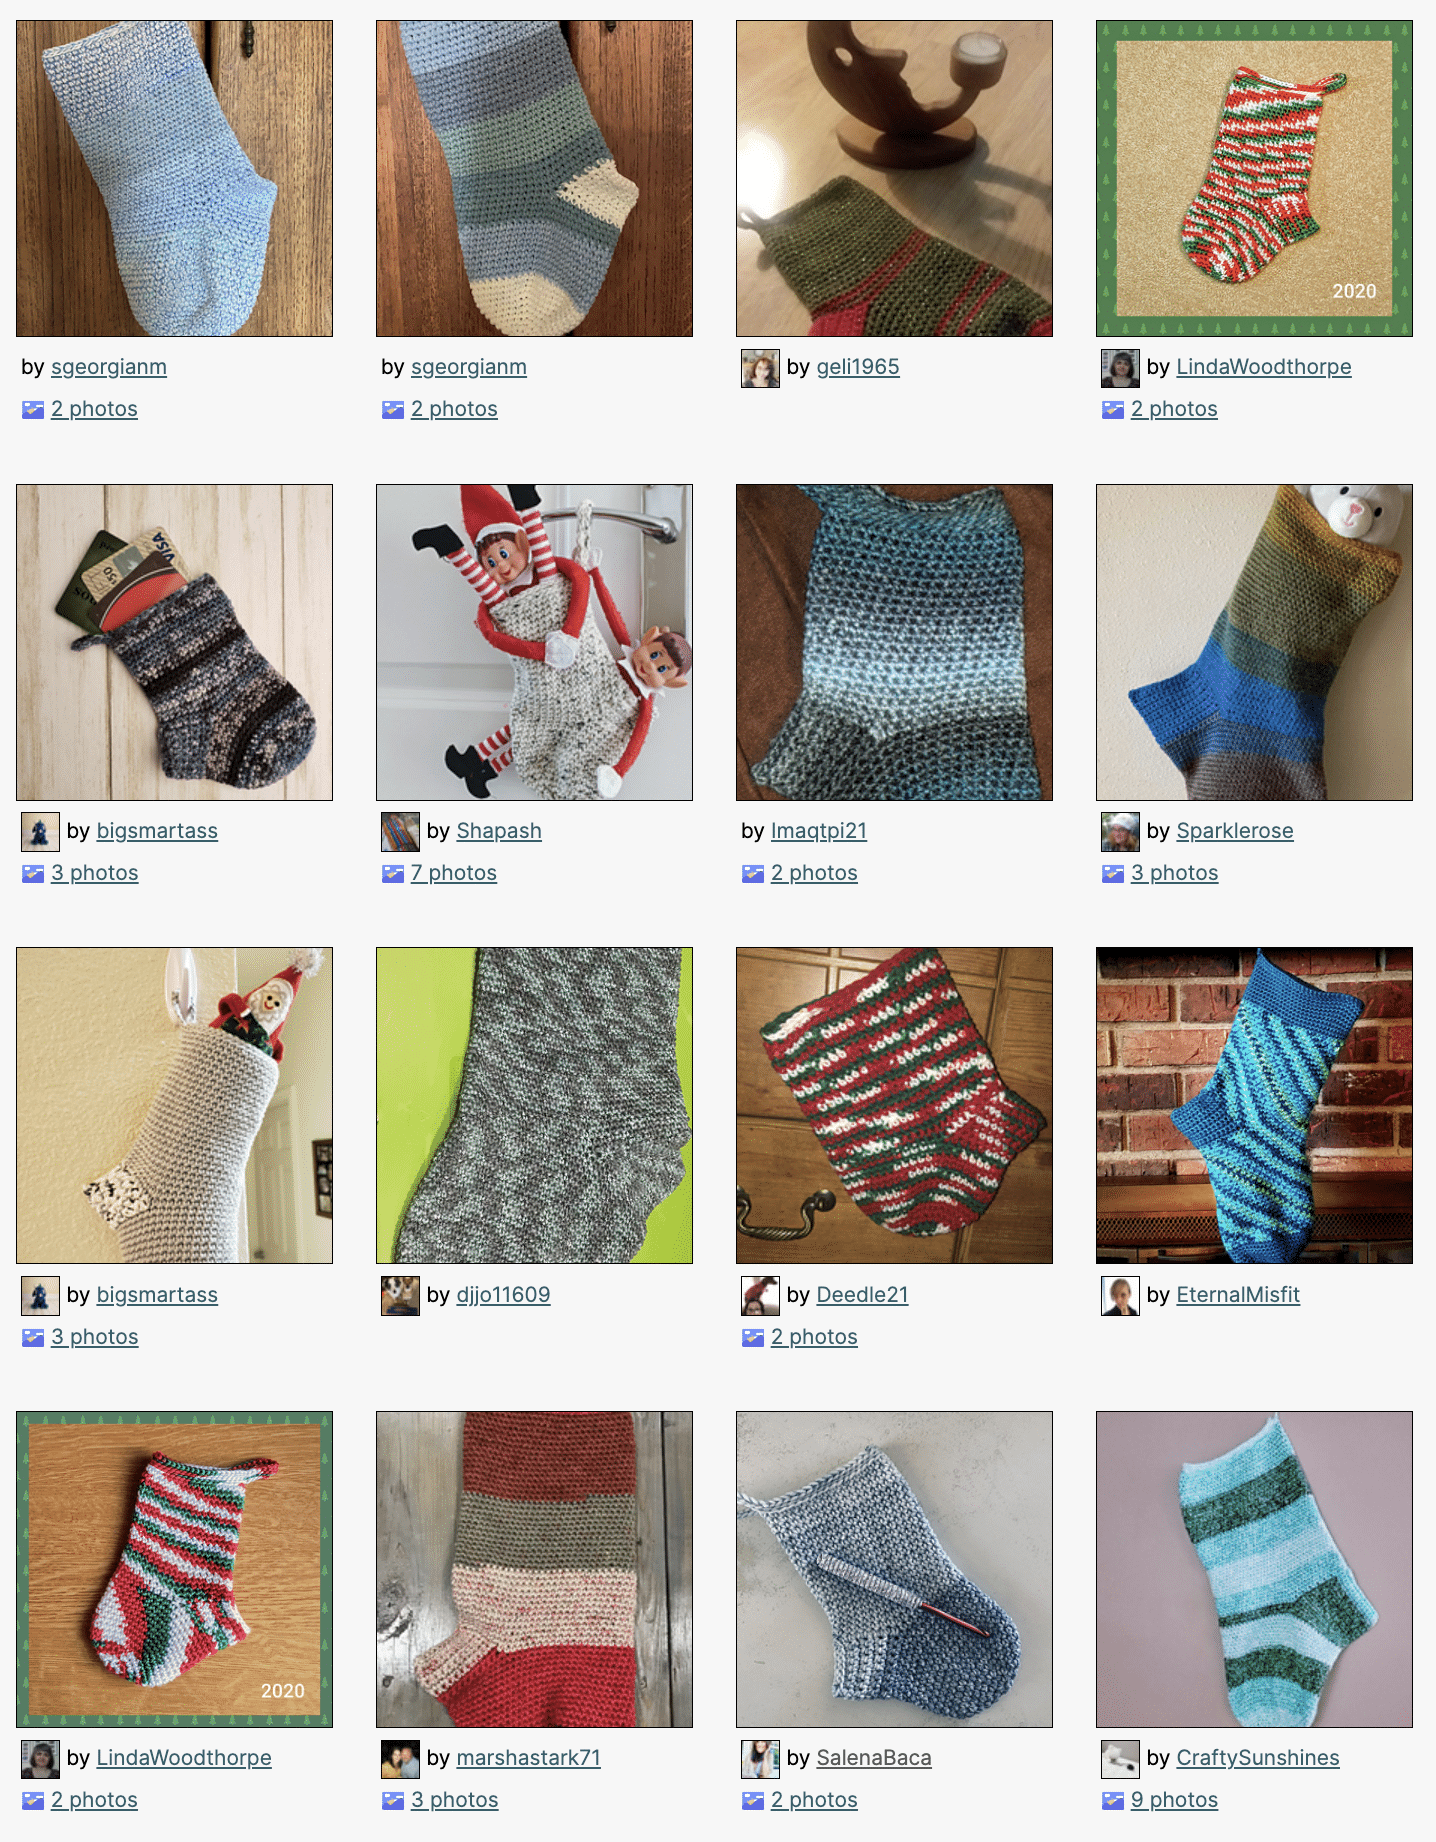
Noel Christmas Stocking Inspiration
To get some inspiration from other crocheters, check out dozens of finished Noel Christmas Stocking projects on Ravelry, right here: https://www.ravelry.com/patterns/library/noel-christmas-stocking-3/people

Tips to work in continuous rounds
If you’ve never tried this technique before, working in continuous rounds of crochet might feel a bit awkward at first.
And, when you’re working continuously without joining your work, you might not know where the first and last stitch of each round are, and if you’ve actually completed a round of work.
I’ve got some tips that will help!
By using a stitch marker in the top of your stitch for each new round, then moving it when you create the first stitch in each new round, you’ll have an easier time keeping track of your work.
This article shares some tips about what counts as a stitch in crochet, and also notes where stitch markers go when working in rounds: Does the chain count as a stitch in crochet? How to count crochet stitches!
Right and Wrong Sides
Except for the heel of this one piece crochet stocking (which is worked back and forth in rows), the entire fabric of this project has a very clear “right side”.
Because single crochet stitches look very different from the right side (front) and wrong side (back), it is important to note and keep the right side of the fabric showing on the outside.
As you create the toe of this project be sure to note the “right side”, so that you don’t accidentally turn that into the inside.
To learn even more on this subject, so that you can learn to spot the right and wrong sides in crochet fabric, here are some tips that will help: Right and Wrong Sides in Crochet: What does this mean?
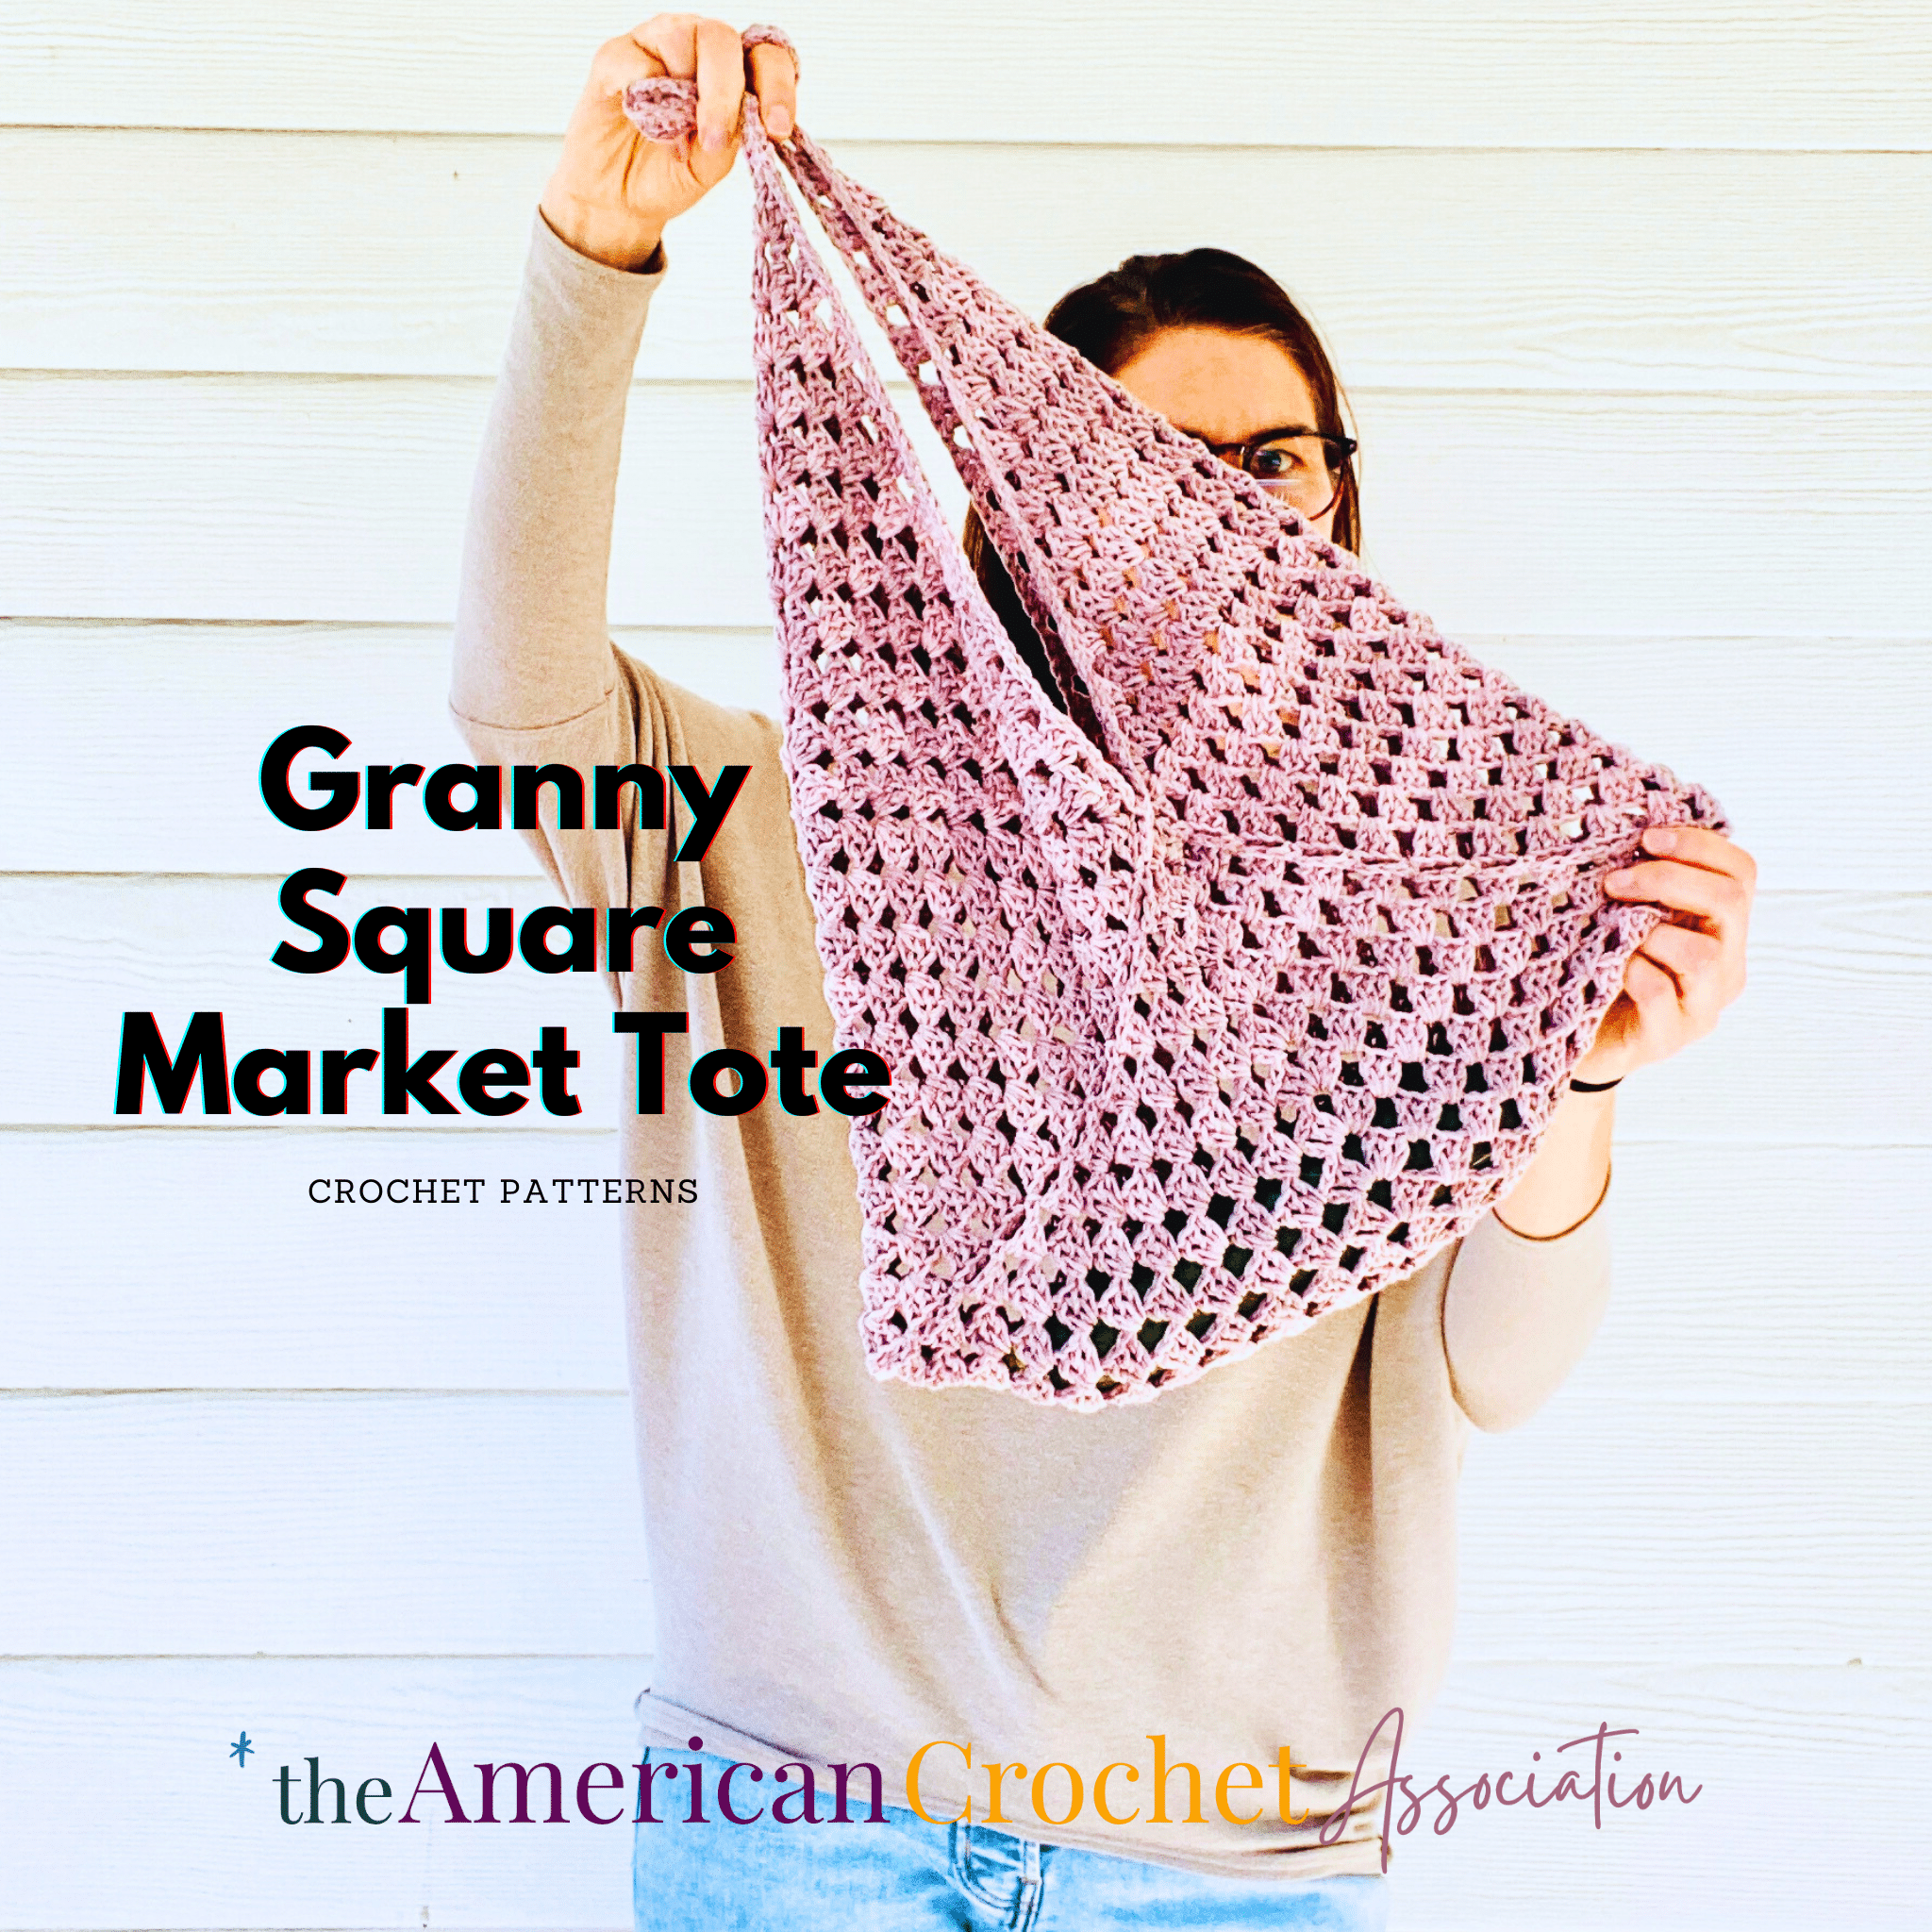
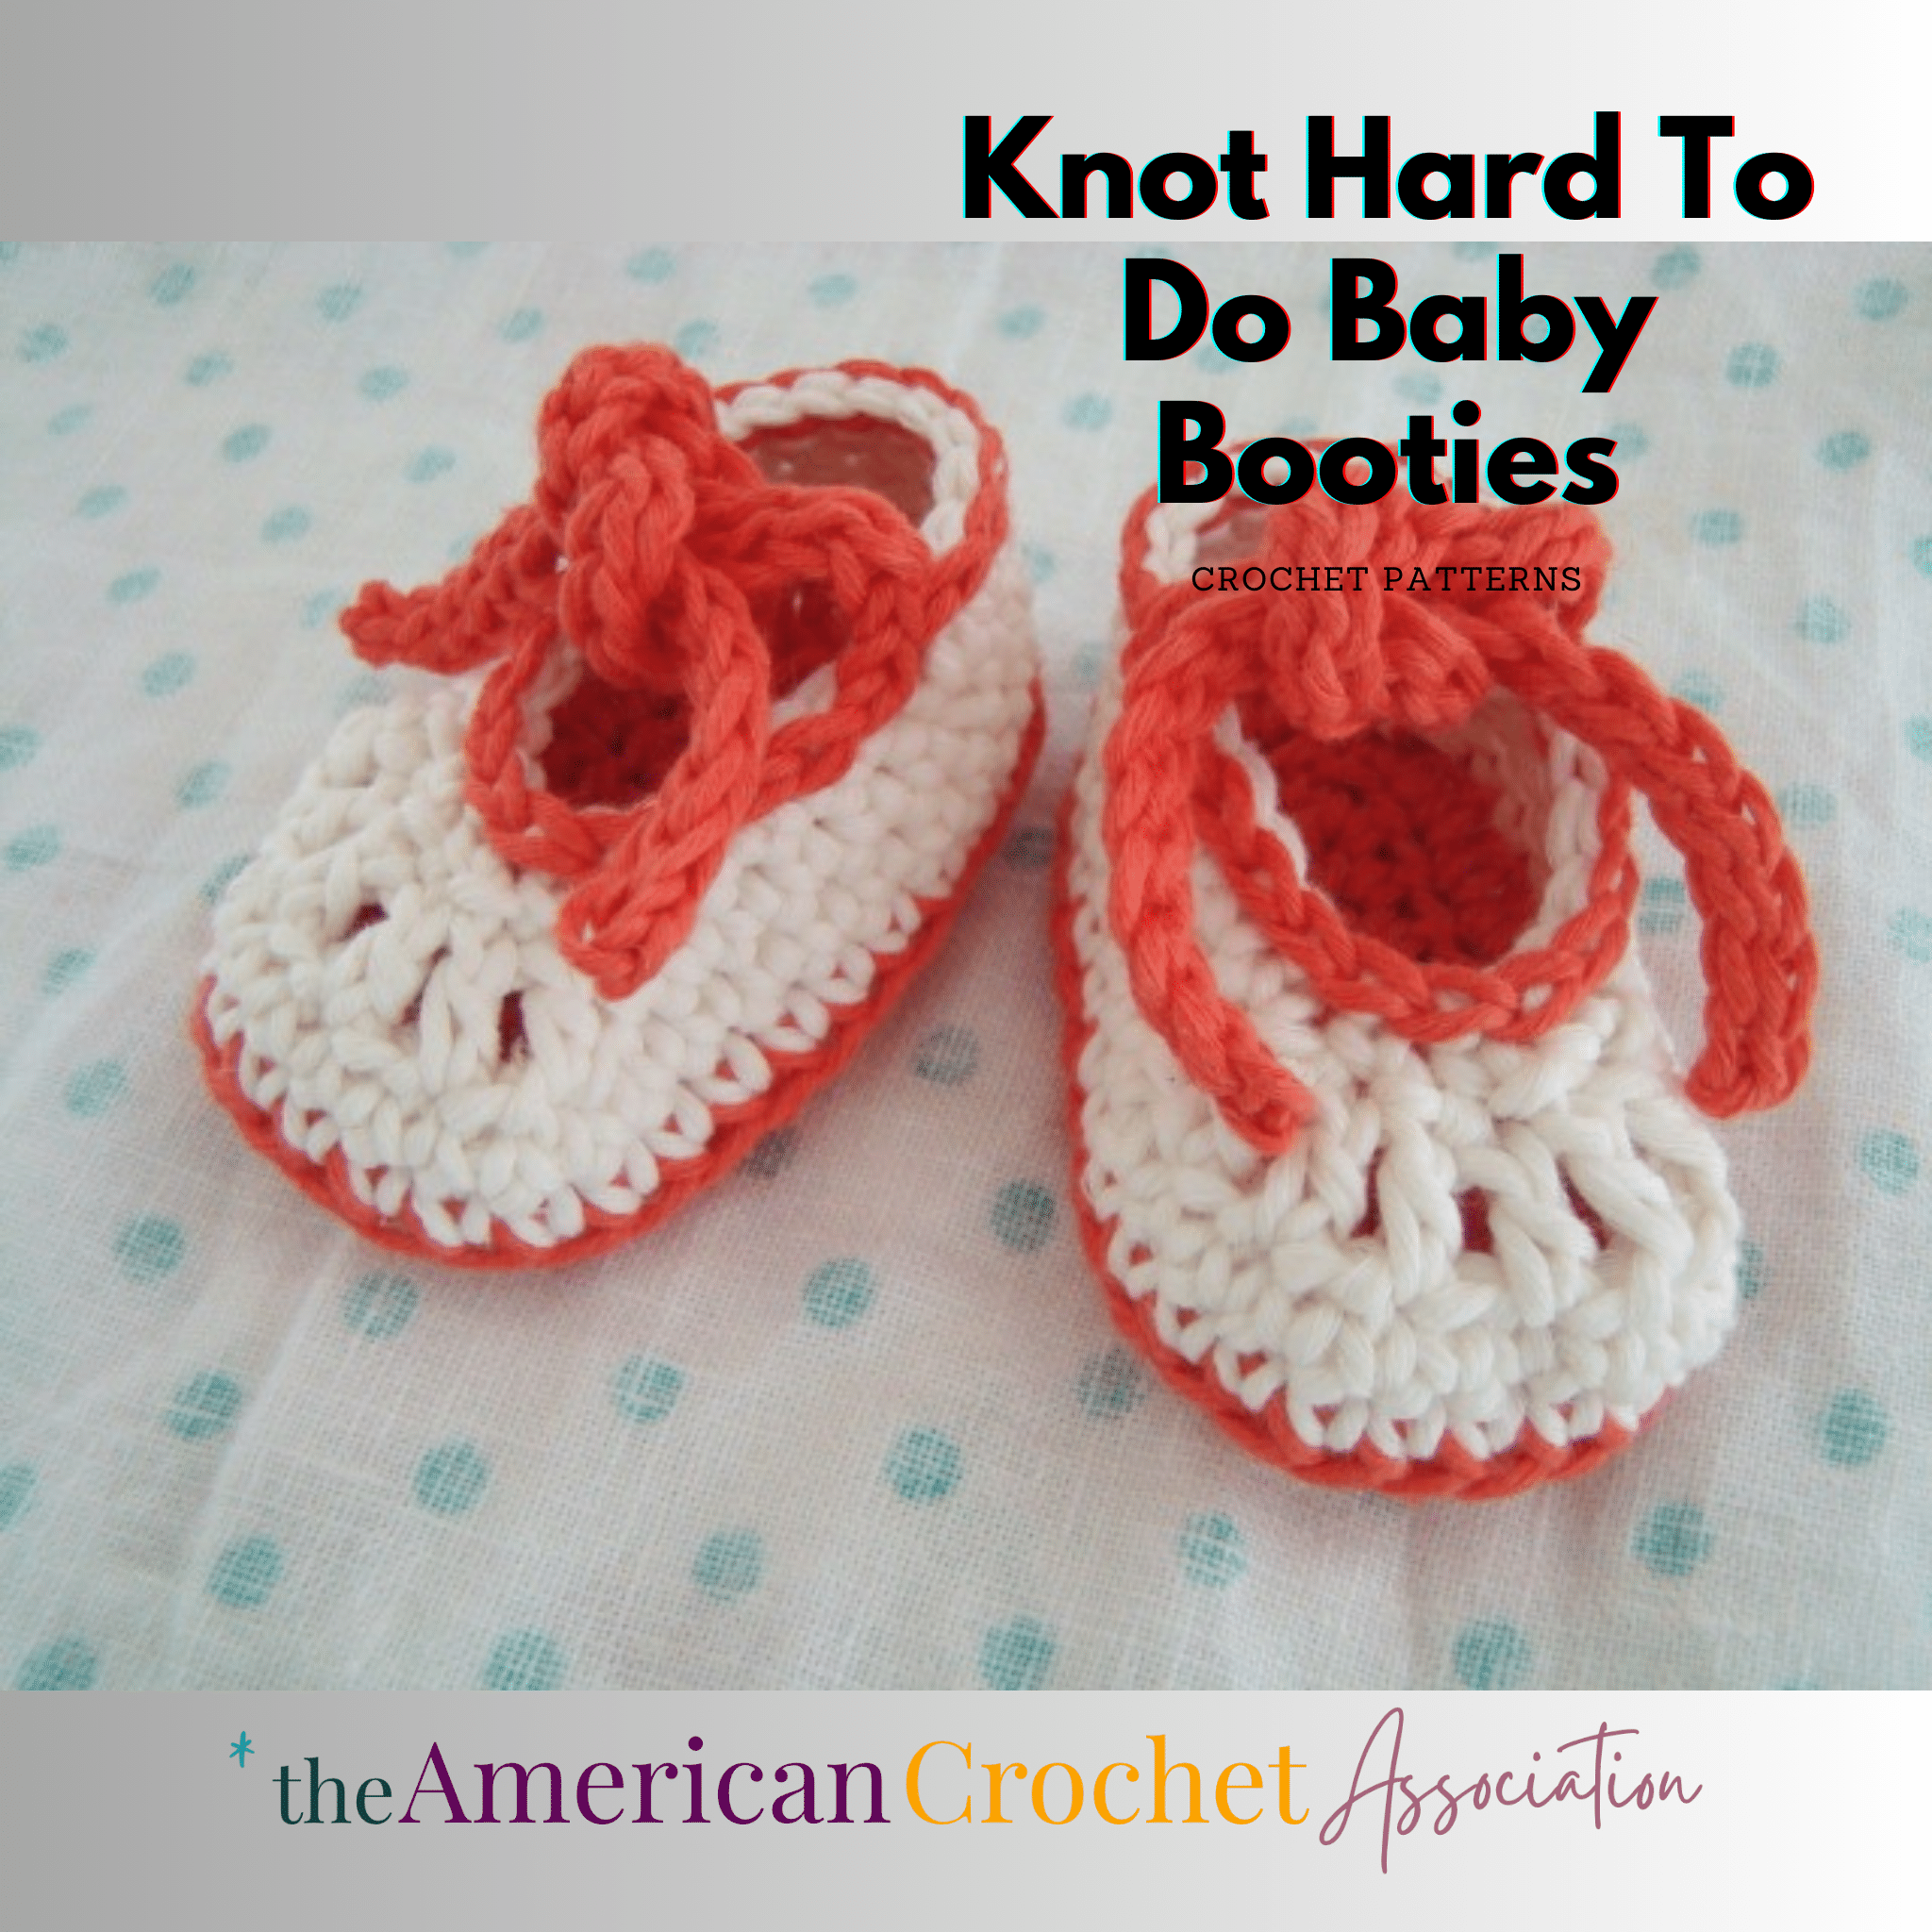
More Crochet Stocking Patterns
If you love to crochet unique Christmas ornaments and decorations, we have a few more crochet stocking patterns you can view right here:
Policy for Individual Use
This crochet pattern is designed by Salena Baca Crochet for the American Crochet Association.
Pattern instructions are protected by copyright laws.
Users must acknowledge and respect the intellectual property rights of pattern creators and designers as follows:
- This pattern is for personal use only. Pattern instructions may be accessed and used by individuals for personal, non-commercial purposes only. Users may create finished products based on the pattern instructions for personal use or gifting.
- Users may not reproduce, distribute, modify, or create derivative works of pattern instructions without explicit permission from the copyright holder.
- Selling or commercially exploiting products made from pattern instructions will require additional permissions or licensing from the copyright holder.
- It is unlawful to share or distribute pattern instructions in any way, including but not limited to: print, digital, video.
- It is unlawful to create derivative works based on pattern instructions, including but not limited to translations, adaptations, or variations.
- Users should provide proper attribution when sharing or displaying finished products made using these pattern instructions, giving credit to the original pattern creator and source.
- Users are expected to conduct themselves in an ethical and respectful manner when using pattern instructions. Users should not engage in plagiarism, claim others’ work as their own, or misrepresent the origin of pattern instructions.
By accessing and using pattern instructions, individuals agree to abide by the usage policy herein.
Users may be held responsible for any damages or legal liabilities resulting from their non-compliance with this policy.
Purchase a PDF file on Ravelry
Click Here to purchase a downloadable PDF version of this pattern!
Making the Noel Christmas Stocking Pattern
Yarn
Lion Brand Yarn Mandala Ombre, Medium weight #4 yarn (100% Acrylic; 344 yds/315 m per 5.3 oz/150 g Cake):
- Cool 100 (150, 190, 200, 240, 290, 340) yds
- Check for yarn substitutes!
Materials
- US Size I/9 5.50 mm Crochet Hook
- Scissors
- Yarn Needle
- Measuring Tape
Stitch Key
- Ch(s) = chain(s)
- Sc = single crochet
- St(s) = stitch(es)
- Sl St = slip stitch
Specialty Stitches and Techniques
- Adjustable Loop
- BLO = Back Loops Only
Sizes and Finished Dimensions
- 8” around x 9” tall
- 9.5” around x 10.75” tall
- 10.75” around x 12.5” tall
- 12” around x 14.25” tall
- 13.5” around x 16” tall
- 14.5” around x 17.75” tall
- 16” around x 19.5” tall
Gauge
- 18 pattern Sts = 4”
- 18 pattern rows = 4”
Pattern Notes
- Pattern is worked in one continuous piece from the Toe upward, however, instructions are written in 3 sections: Toe (continuous rounds), Heel (rows), Shaft (continuous rounds).
- Pattern may be worked in alternate yarn weights and types as desired (finished sizes will vary).
Instructions
Toe (All Sizes)
Round 1 (Right Side): Form adjustable loop, Ch 1 (not a St), work 6 Sc into ring – 6 Sc
Round 2: Work 2 Sc into next 6 Sts – 12 Sc
Check out our Crochet Memberships for all skill levels!
From First Stitch to Crochet Career, Unravel Your Complete Journey With The American Crochet Association!
Round 3: [Work 2 Sc into next St, Sc into following St] 6 times – 18 Sc
Round 4: [Work 2 Sc into next St, Sc into following 2 Sts] 6 times – 24 Sc
Round 5: [Work 2 Sc into next St, Sc into following 3 Sts] 6 times- 30 Sc
Round 6: [Work 2 Sc into next St, Sc into following 4 Sts] 6 times – 36 Sc
Size 1 only:
Round 7-16: Sc into each St around – 36 Sc
Do not fasten off, continue to Heel.
Size 2-7 only:
Round 7: [Work 2 Sc into next St, Sc into following 5 Sts] 6 times – 42 Sc
For size 2 only:
Round 8-20: Sc into each St around – 42 Sc
Do not fasten off, continue to Heel.
Size 3-7 only:
Round 8: [Work 2 Sc into next St, Sc into following 6 Sts] 6 times – 48 Sc
Size 3 only:
Round 9-24: Sc into each St around- 48 Sc
Do not fasten off, continue to Heel.
Size 4-7 only:
Round 9: [Work 2 Sc into next St, Sc into following 7 Sts] 6 times – 54 Sc
Size 4 only:
Round 10-28: Sc into each St around – 54 Sc
Do not fasten off, continue to Heel.
Size 5-7 only:
Round 10: [Work 2 Sc into next St, Sc into following 8 Sts] 6 times – 60 Sc
Size 5 only:
Round 11-32: Sc into each St around – 60 Sc
Do not fasten off, continue to Heel.
Size 6-7 only:
Round 11: [Work 2 Sc into next St, Sc into following 9 Sts] 6 times – 66 Sc
Size 6 only:
Round 12-36: Sc into each St around – 66 Sc
Do not fasten off, continue to Heel.
Size 7 only:
Round 12: [Work 2 Sc into next St, Sc into following 10 Sts] 6 times – 72 Sc
Round 13-40: Sc into each St around – 72 Sc
Do not fasten off, continue to Heel.
Heel (All Sizes)
Row 1: Ch 1 (not a St), turn, Sc into next 16 (18, 20, 22, 24, 28, 32) Sts – 16 (18, 20, 22, 24, 28, 32) Sc
Row 2-7 (8, 9, 10, 11, 13, 15): Ch 1, turn, Sc into each St across – 16 (18, 20, 22, 24, 28, 32) Sc
Row 8 (9, 10, 11, 12, 14, 16): Ch 1, turn, Sc into next 8 (9, 10, 11, 12, 14, 16) Sts – 8 (9, 10, 11, 12, 14, 16) Sc
With Right Side facing, fold Heel in half by length so that the last 2 rows are parallel. Ch 1, Sl St both thicknesses of fabric together using BLO of next St and FLO of last St worked across Heel rows. Do not fasten, continue on to Shaft – 8 (9, 10, 11, 12, 14, 16) Sl Sts
Shaft (All Sizes)
With Right Side of Toe facing, Ch 1 (not a St).
Round 1: Work 1 Sc into each Sc end row from Heel, work 1 Sc into each St from final round of Toe – 36 (42, 48, 54, 60, 66, 72) Sc
Round 2-21(25, 29, 33, 37, 41, 45): Sc into each St around 36 (42, 48, 54, 60, 66, 72) Sc
Round 22 (26, 30, 34, 38, 42, 46): Ch 15 (hanger loop), Sl St into BLO of
each St around – 51 (57, 63, 69, 75, 81, 87) Sts; 36 (42, 48, 54, 60, 66, 72) Sl St + 15 Ch
Round 23 (27, 31, 35, 39, 43, 47): Sl St into BLO of each St around – 51 (57, 63, 69, 75, 81, 87) Sl Sts
Work round 23 (27, 31, 35, 39, 43, 47) 3 times, until 25 (29, 33, 37, 41, 45, 49) rounds complete. Fasten off.
Finishing
Sew in all yarn ends, trim excess.

Video Chat
to hear more about this one piece crochet stocking pattern, watch my quick video chat right here: Noel Christmas Stocking Pattern
Click Here to share your finished project in our community!
Peace + Love + Crochet
Salena

thanks finally got the pattern,will do it later,when I finished doing my project 😊
Great pattern
This pattern is so easy to understand and works up quickly. And 7 different sizes. How awesome is that?! And you can go through your stash. I used 2 different yarns. I will definitely make more.
What a great design! Looks cute, and the fact that it’s one piece is incredible!
Cute!!! I may have to start now making some to give away with gifts next Christmas 🎄
This would be a great way to use up partial skeins of yarn. Nice to have multiple size instructions, too!
Such a cute stocking pattern! I want to try this one!
This pattern is so beautiful! I’m so excited to get started on this for next Christmas. Stockings are always a fun project.
I taught myself to crochet at age 12, I would go to Good Will to get yarn and hooks, so I could make things for people. Since I joined ACA I have learned quite a few new techniques and problem solving issue. This looks almost like the stocking I make at 13 only the heel was not rounded.
Very clever design and it creates a unique look. I think it would be perfect for those still learning stitches and how to identify them. I need to try this one for fun.
I just finished making a bunch of your stockings as quick, fun gifts to give out. 🙂 Thanks for all your wonderful patterns!
I have done stockings in the past which is a great way to use up scrap yarn! Thank you for this great design!!!