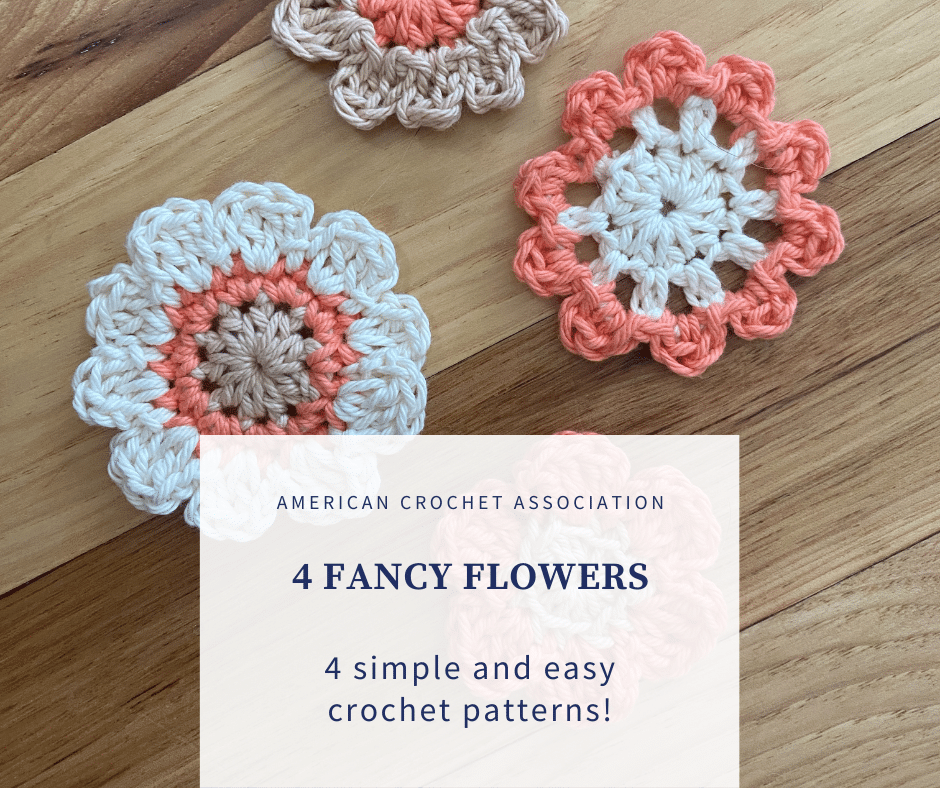
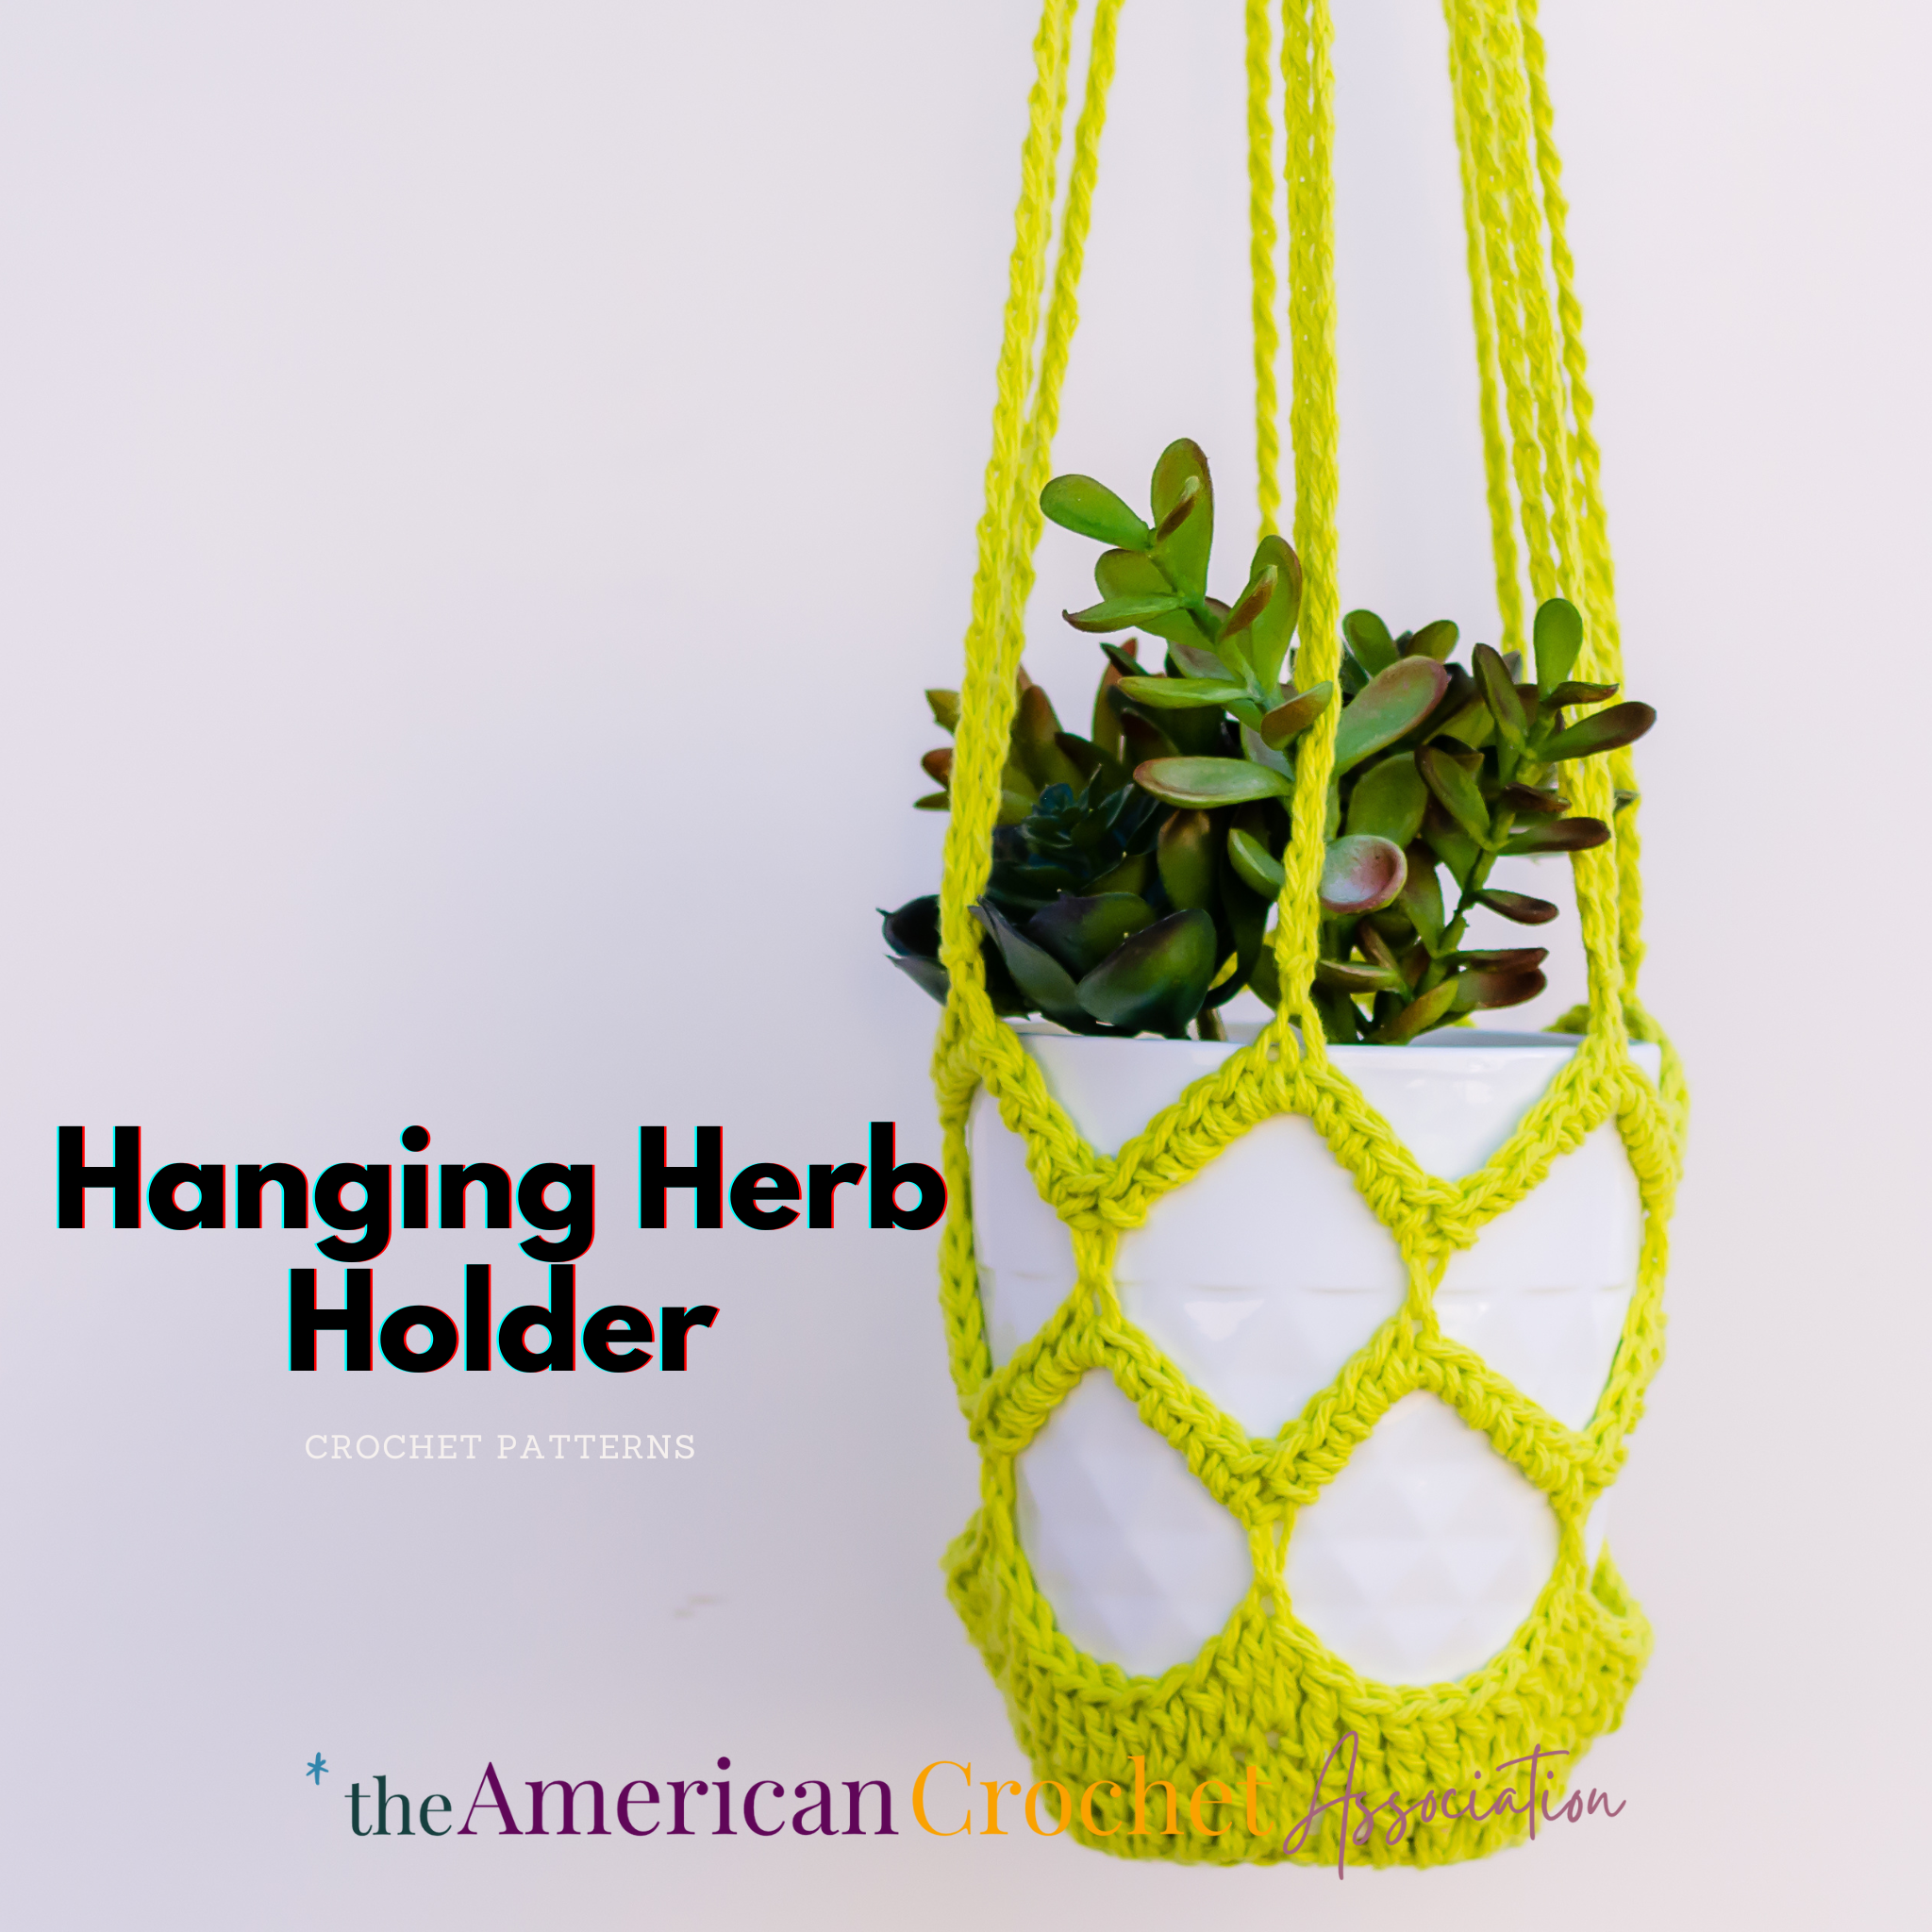
This crochet plant hanger pattern is worked in joined rounds using basic stitches including the Chain, Single, Double, and Slip!
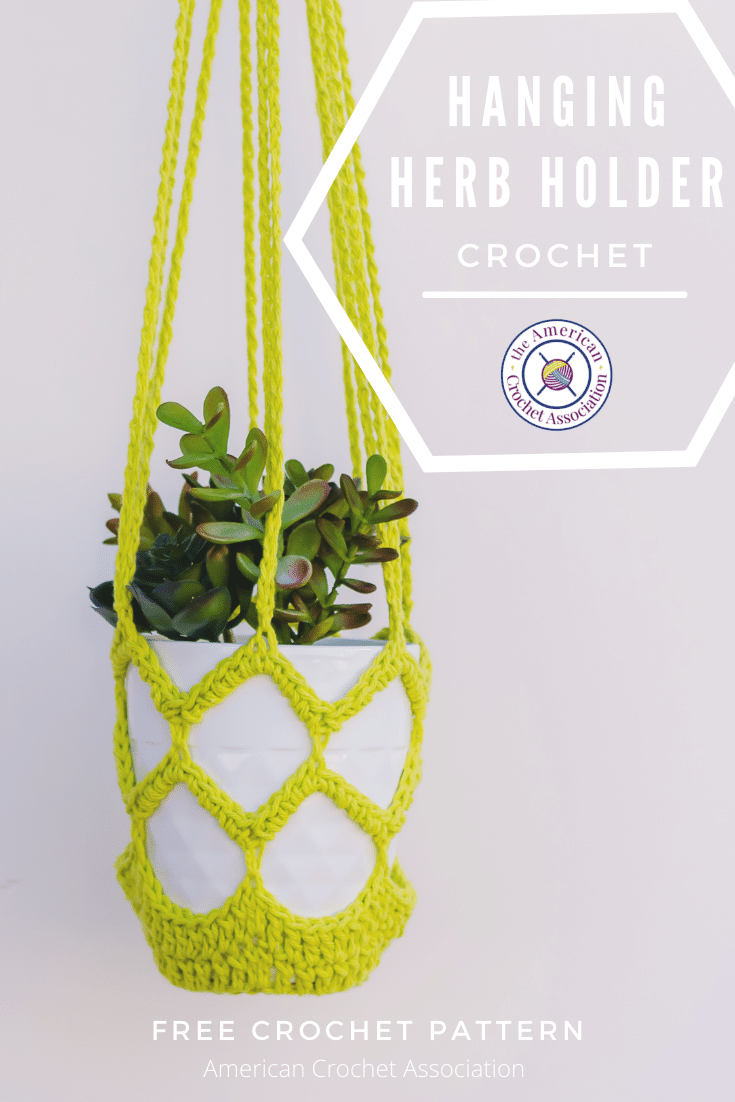
This crochet plant hanger – also known as the Hanging Herb Holder – is worked in one solid piece, including the hanging loops.
The full length of the Hanging Herb Holder is 23” long and about 7” wide, which is perfect for holding most flower posts of the same width.
There are six total loops made to hang this crochet plant holder; an interesting feature that also make this design very sturdy.
The best part about this crochet plant hanger?
This project can be used indoors or outdoors to hold any of your favorite plants, herbs, or flowers – hooray for crochet!
The crochet plant hanger pattern is a great project to work up because:
- Plant hangers like this are quick and easy projects to make.
- You can use most weight 4 yarns you already have in your stash!
- This project works great with cotton yarns!
- You’ll get to practice a lot of crochet skills: joined rounds, stitch tension, gauge & size, chain, single, and triple crochet stitches, finishing techniques & more!
Estimated reading time: 7 minutes
Table of contents
This post may contain some affiliate links.
Policy for Individual Use
This crochet pattern is designed by Salena Baca Crochet for the American Crochet Association.
Pattern instructions are protected by copyright laws.
Users must acknowledge and respect the intellectual property rights of pattern creators and designers as follows:
- This pattern is for personal use only. Pattern instructions may be accessed and used by individuals for personal, non-commercial purposes only. Users may create finished products based on the pattern instructions for personal use or gifting.
- Users may not reproduce, distribute, modify, or create derivative works of pattern instructions without explicit permission from the copyright holder.
- Selling or commercially exploiting products made from pattern instructions will require additional permissions or licensing from the copyright holder.
- It is unlawful to share or distribute pattern instructions in any way, including but not limited to: print, digital, video.
- It is unlawful to create derivative works based on pattern instructions, including but not limited to translations, adaptations, or variations.
- Users should provide proper attribution when sharing or displaying finished products made using these pattern instructions, giving credit to the original pattern creator and source.
- Users are expected to conduct themselves in an ethical and respectful manner when using pattern instructions. Users should not engage in plagiarism, claim others’ work as their own, or misrepresent the origin of pattern instructions.
By accessing and using pattern instructions, individuals agree to abide by the usage policy herein.
Users may be held responsible for any damages or legal liabilities resulting from their non-compliance with this policy.
Ravelry – Purchase a PDF File
For a copy of this pattern on Ravelry, you can purchase a downloadable PDF version right here:
Crochet Plant Hanger Resources
Finished Crochet Plant Hangers
Need some inspiration?
Check out other finished crochet plant hanger projects today on ravelry, right here:
How to Crochet In Joined Rounds
This crochet plant hanger is worked in by increasing stitches per round, then joining them.
If you are not sure how to crochet in joined rounds, or would like to see a tutorial that will show you how to join crochet, then check out this quick video right here:
Right and Wrong Sides in Crochet
Not all crochet projects have a right side (front) and a wrong side (back), but these crochet crochet afghan blocks definitely do.
Be sure to note the right side of the fabric as you work the pattern instructions, and join your finished crochet afghan blocks so that each one is facing the same direction.
For even more details, I’ve put together my favorite tips (with photo tutorials) right here: Right and Wrong Sides in Crochet: What does this mean?
More Crochet Patterns For Plants
If you love the look of the Hanging Herb Holder (Crochet Plant Hanger) pattern, and want even more crochet patterns for your plants, check these out:
Hanging Crochet Plant Basket Pattern
Easy Crochet Basket: Use Any Yarn To Make Any Size!
Basketweave Stitch Crochet Tote
How To Make The Crochet Plant Hanger
Yarn
Bernat Handicrafter, Medium weight #4 yarn (100% cotton; 80 yds/73 m per 1.75 oz/50 g skein): Hot Green x 1 Skein
To find other natural fibers, or other brands that carry cotton yarn, I suggest looking on yarnsub.com and comparing the yarn used to write this pattern.
For more information about how to substitute yarn for a crochet project, here are all our best tips to help: Understanding Yarn Substitution: An Easy Reference For Crocheters
If you would like to substitute yarn for this Crochet Plant Hanger pattern, here are some yarns I recommend for this project:
Materials
Gauge
- 17 Dc Sts = 4”
- 5 Dc rows = 3.5”
Size and Finished Measurements
- Base (diameter): 7”
- Full hanging height (length): 23”
Stitch Key
This crochet stitch pattern is worked with the following basic crochet stitches.
You can see these stitches in action as you watch these video tutorials (just click on the underlined text):
- Ch(s) = chain(s)
- Sc = single crochet
- Dc = double crochet
- St(s) = stitch(es)
- Sl St = slip stitch
Specialty Stitches and Techniques
With so many different places and spaces to work in crochet, it can be easy to wonder where you should place your hook to work your stitches.
Here are some tips and resources to help: Where do stitches go in crochet: All the places and spaces to put your hook
Pattern Notes
- Pattern is worked in joined rounds from the bottom up, including the chain loops for hanging.
Crochet Plant Hanger Instructions
Form adjustable loop.
- Round 1 (RS): Ch 3 (first Dc here and throughout), work 11 Dc in loop, Sl St into top of first Dc to join (12 Dc)
- Round 2: Ch 3, Dc in same St, 2 Dc in each St around, Sl St into top of first Dc to join (24 Dc)
- Round 3: Ch 3, Dc in same St, Dc in next, [2 Dc in next, Dc in next] 11 times, Sl St into top of first Dc to join (36 Dc)
- Round 4: Ch 3, Dc in same St, Dc in next 2, [2 Dc in next, Dc in next 2] 11 times, Sl St into top of first Dc to join (48 Dc)
- Round 5: Ch 3, Dc in same St, Dc in next 3, [2 Dc in next, Dc in next 3] 11 times, Sl St into top of first Dc to join (60 Dc)
- Round 6: Ch 10 (first Sc and Ch-9 space), [skip 9 Sts, Sc in next, Ch 9] 5 times, Sl St into 1st Ch to join (60 Sts; 6 Sc, 6 Ch-9 spaces)
- Round 7: Ch 1 (first Sc), work 9 Sc in 1st Ch-9 space, work 10 Sc into each Ch-9 space around, Sl St into 1st Ch to join, Sl St into each of next 4 Sts (60 Sc)
Repeat Rounds 6 and 7 until 9 rounds are complete.
- Round 10: Ch 101 (first Sc and Ch-100 space), [skip 9 Sts, Sc into next, Ch 100] 5 times, Sl St into 1st Ch to join. Fasten off, weave in ends (606 Sts; 6 Sc + 6 Ch-100 spaces)
Each ch-100 space creates 1 hanger.
Finishing
- Arrange Ch-100 loops neatly on sides, taking care not to tangle.
- Place the plant into flower pot, then into Herb Holder.
- Gather 1 long Ch loop at a time, until all 6 are held; adjust pot holder and plant as necessary.
- Ensure 2 in./5 cm hook screw is securely in place and transfer all Ch loops onto hook.
Video Chat
To hear more about the Hanging Herb Holder (Crochet Plant Hanger Pattern) from the author Salena Baca, watch this quick video chat right here:
Click Here to share your finished project in our community!
Peace + Love + Crochet
Salena

